Wednesday, July 27, 2011

The Notions Fascination Playmat: Shoelace Tie

Ok, so today is a little bit easier... we'll focus on the: SHOELACE TIE.

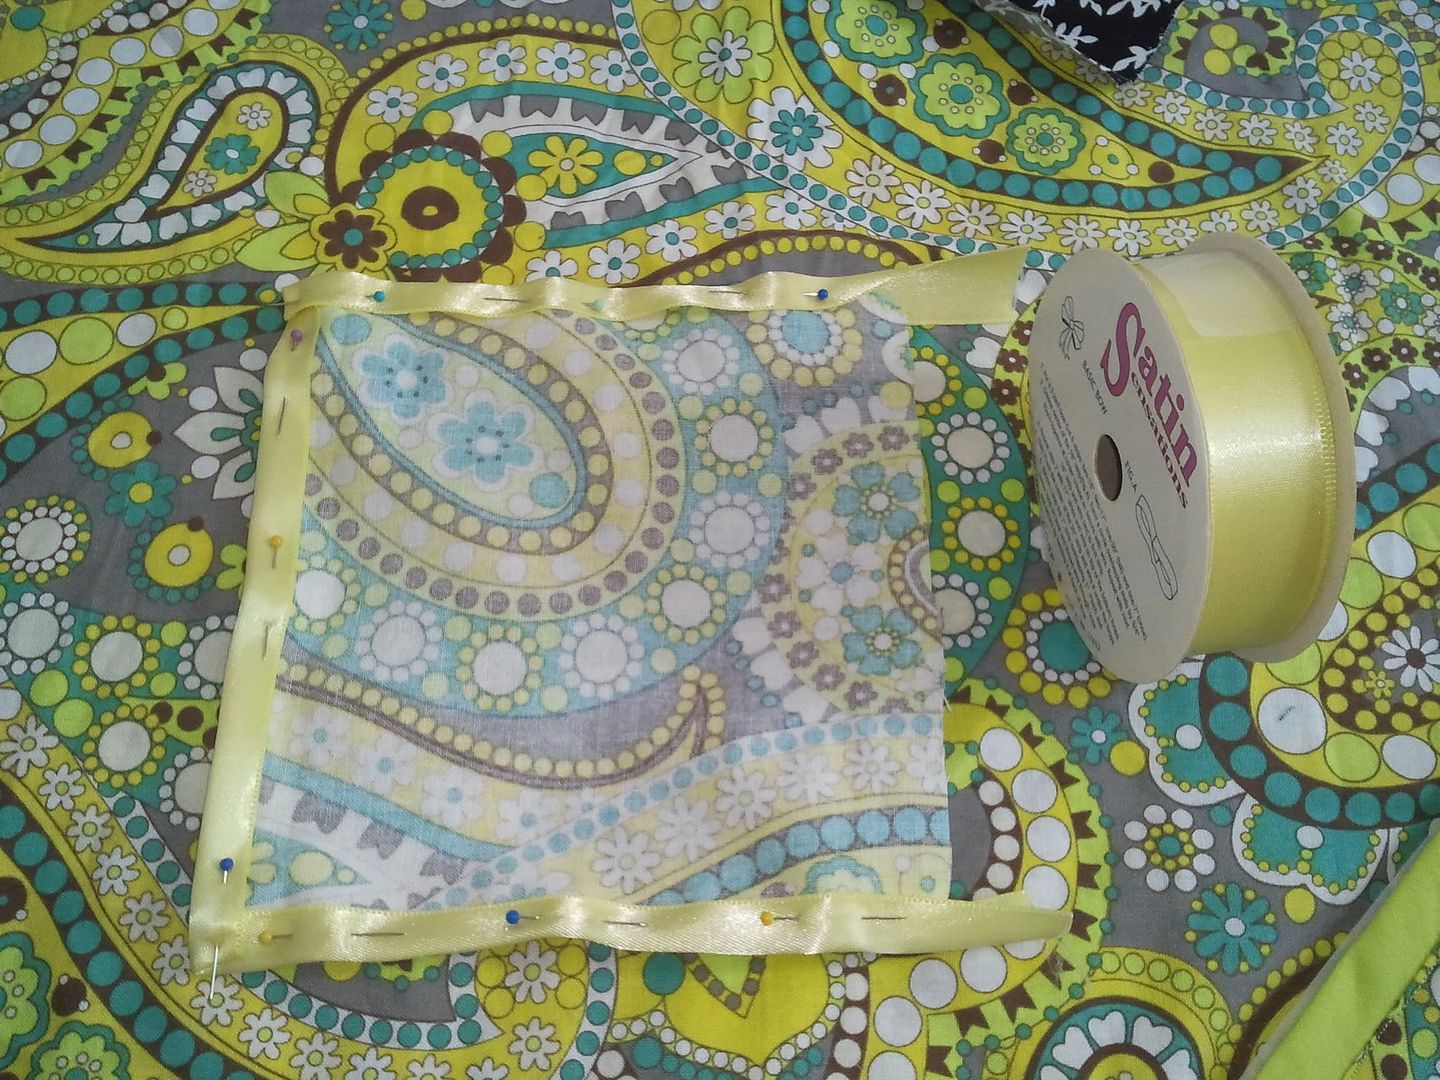
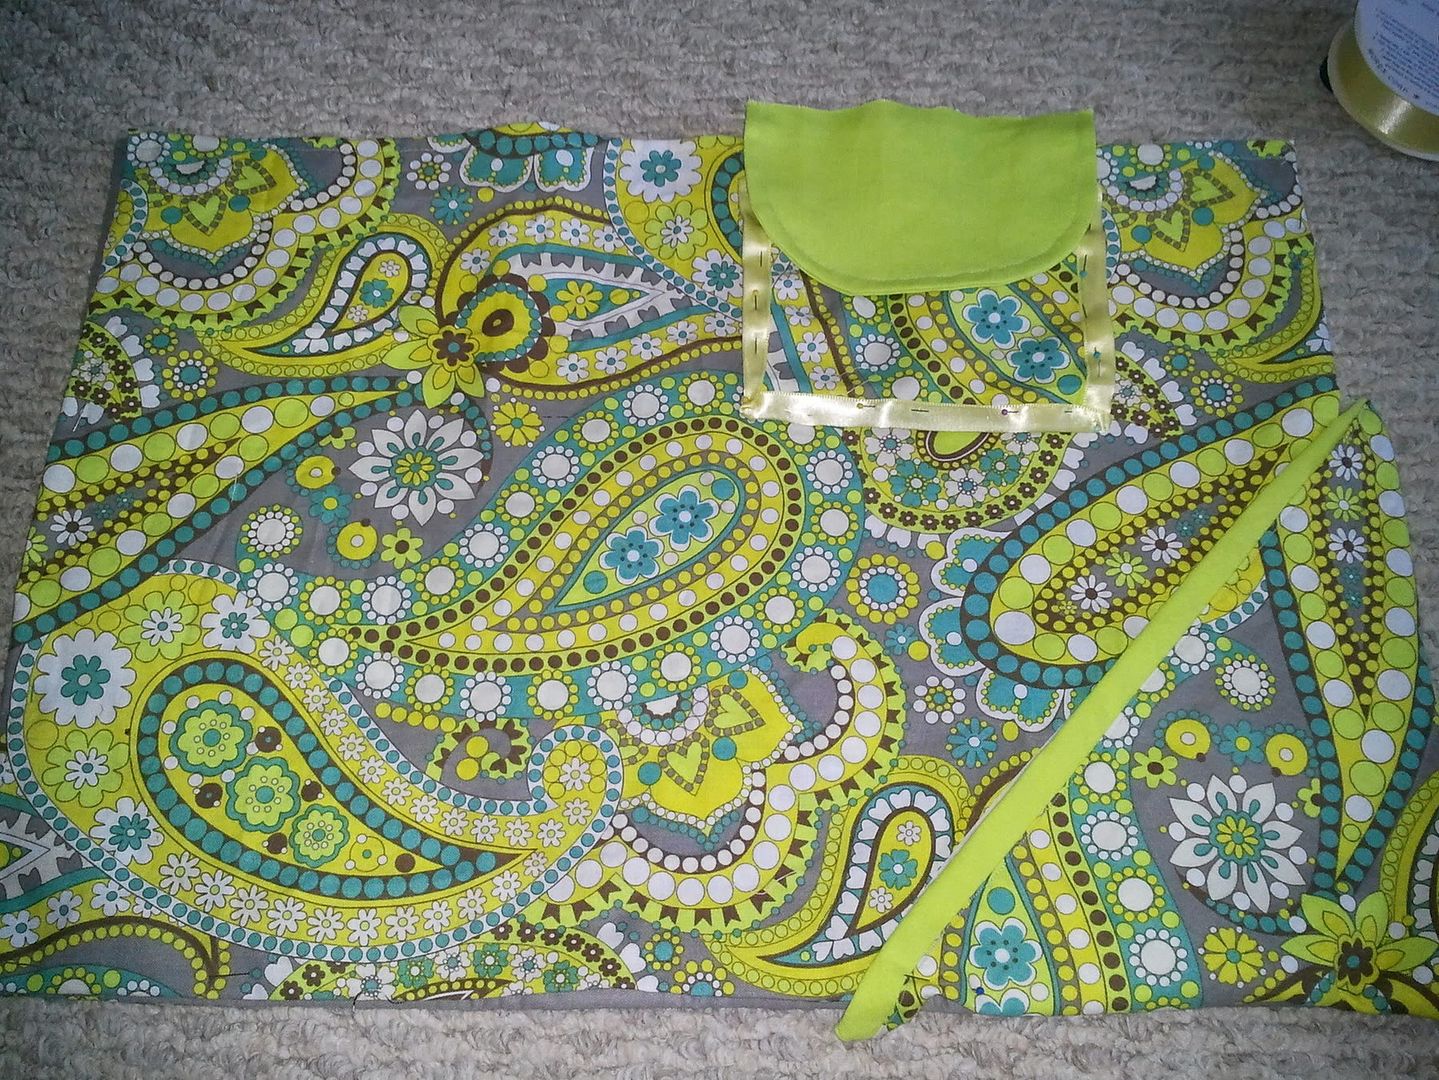
So, this was basically a rectangular piece of scrap fabric that I found to start me off.  I was going to finish the edges by incorporating a white fabric border, but as you can see in the final result, I decided to scrap that idea when I found a really lovely coordinating grosgrain ribbon instead.

Now, I have had an eyelet tool since I designed my own wedding invitations back in 2007 (I had these pretty little heart eyelets that held the vellum paper onto my Stardream paper backing... but more on that another time).  You can find eyelet tools at many of the craft stores - I believe I got mine from Hobby Lobby.  I bought these simple eyelets from Hancock Fabrics, but again, you can find them at many of the craft stores.

Ok, so to start, mark the 6 different areas on your fabric where you will be wanting your eyelets situated (3 pairs of two side-by-side eyelets).  Once you've marked where you want them, carefully make a hole big enough to fit your eyelet in (I started by piercing through my marks with thumb tacks and moved up from there.  Once the hole is big enough, fit the eyelet in like so:


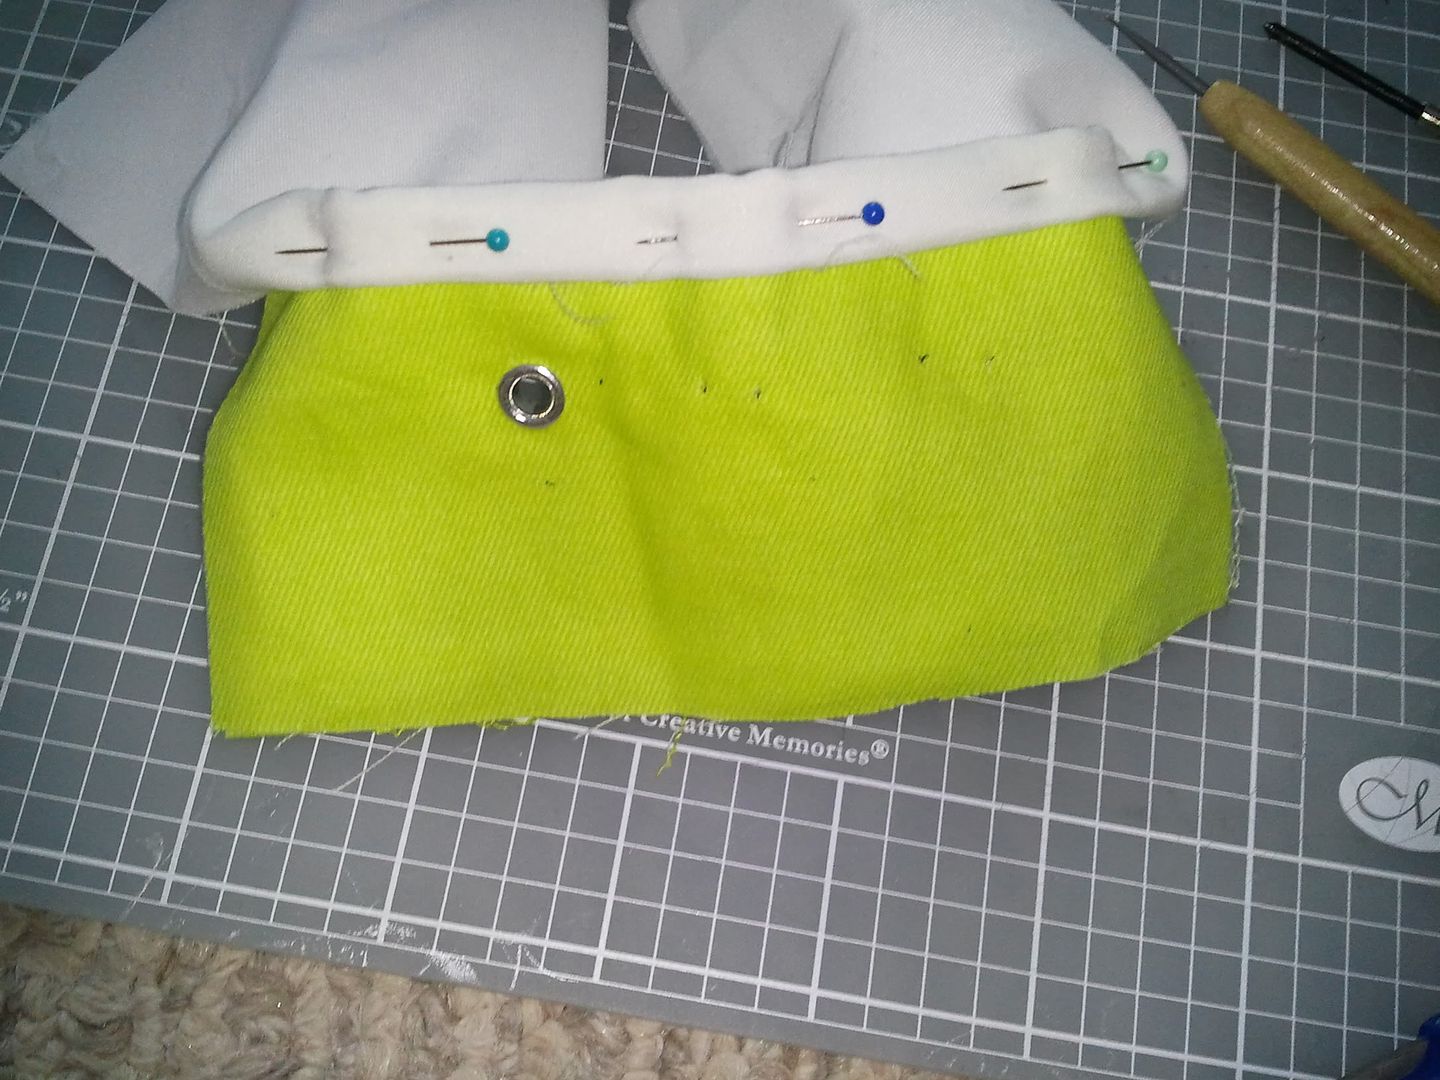
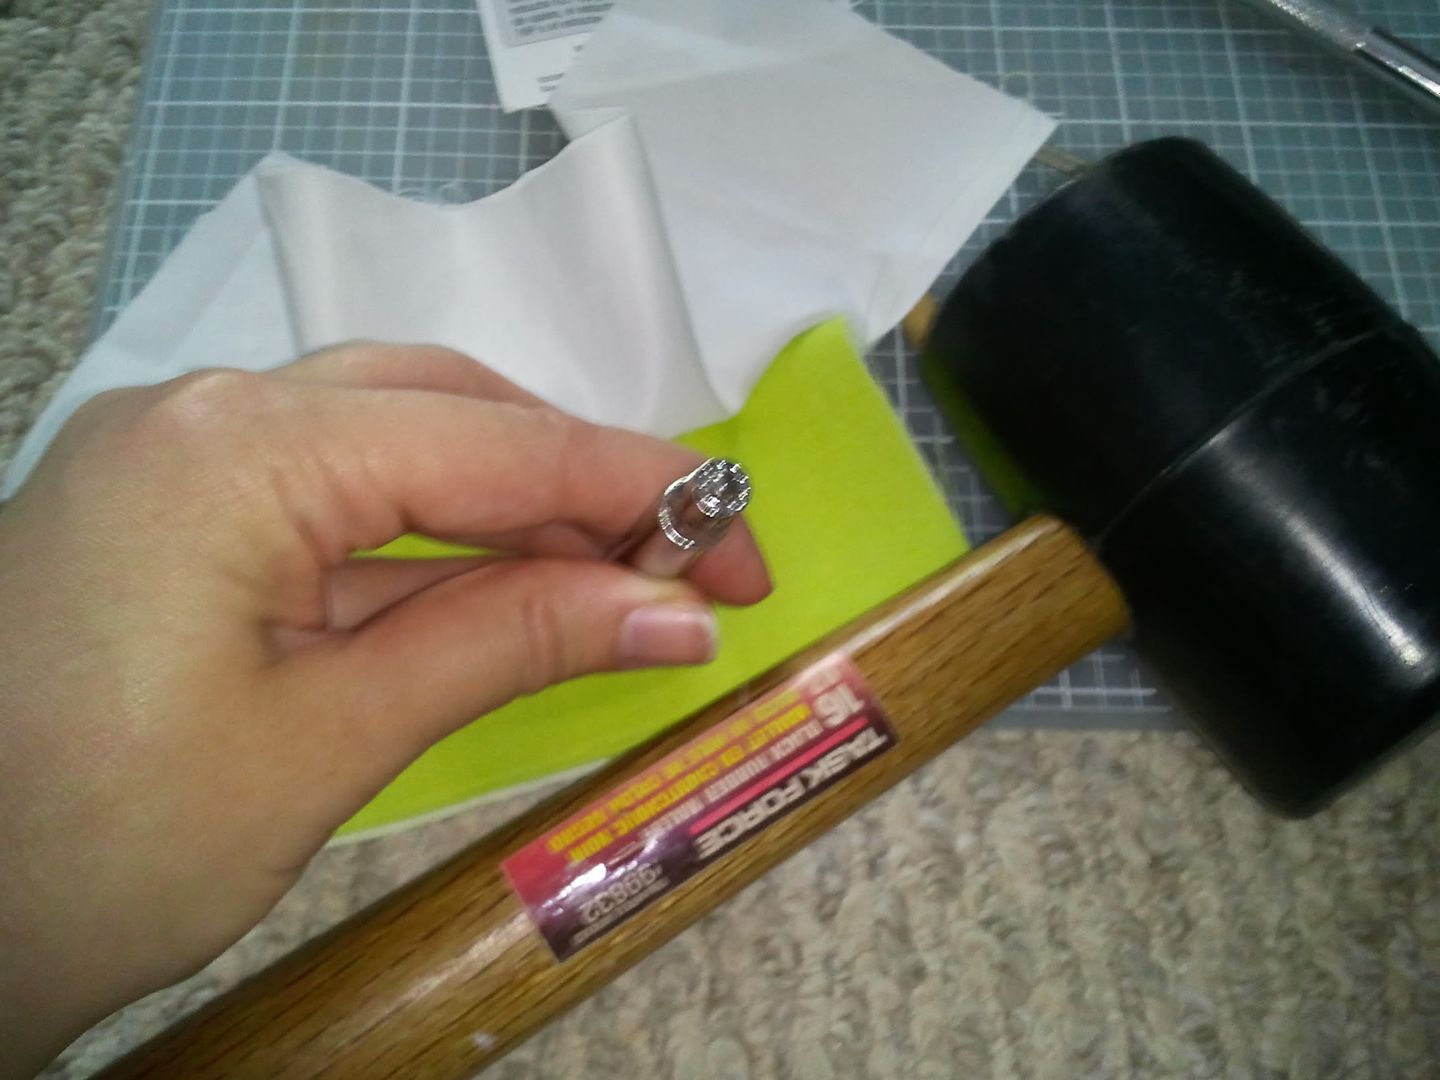
Now, flip your piece of fabric upside-down to the ugly side where you see the back of the eyelet


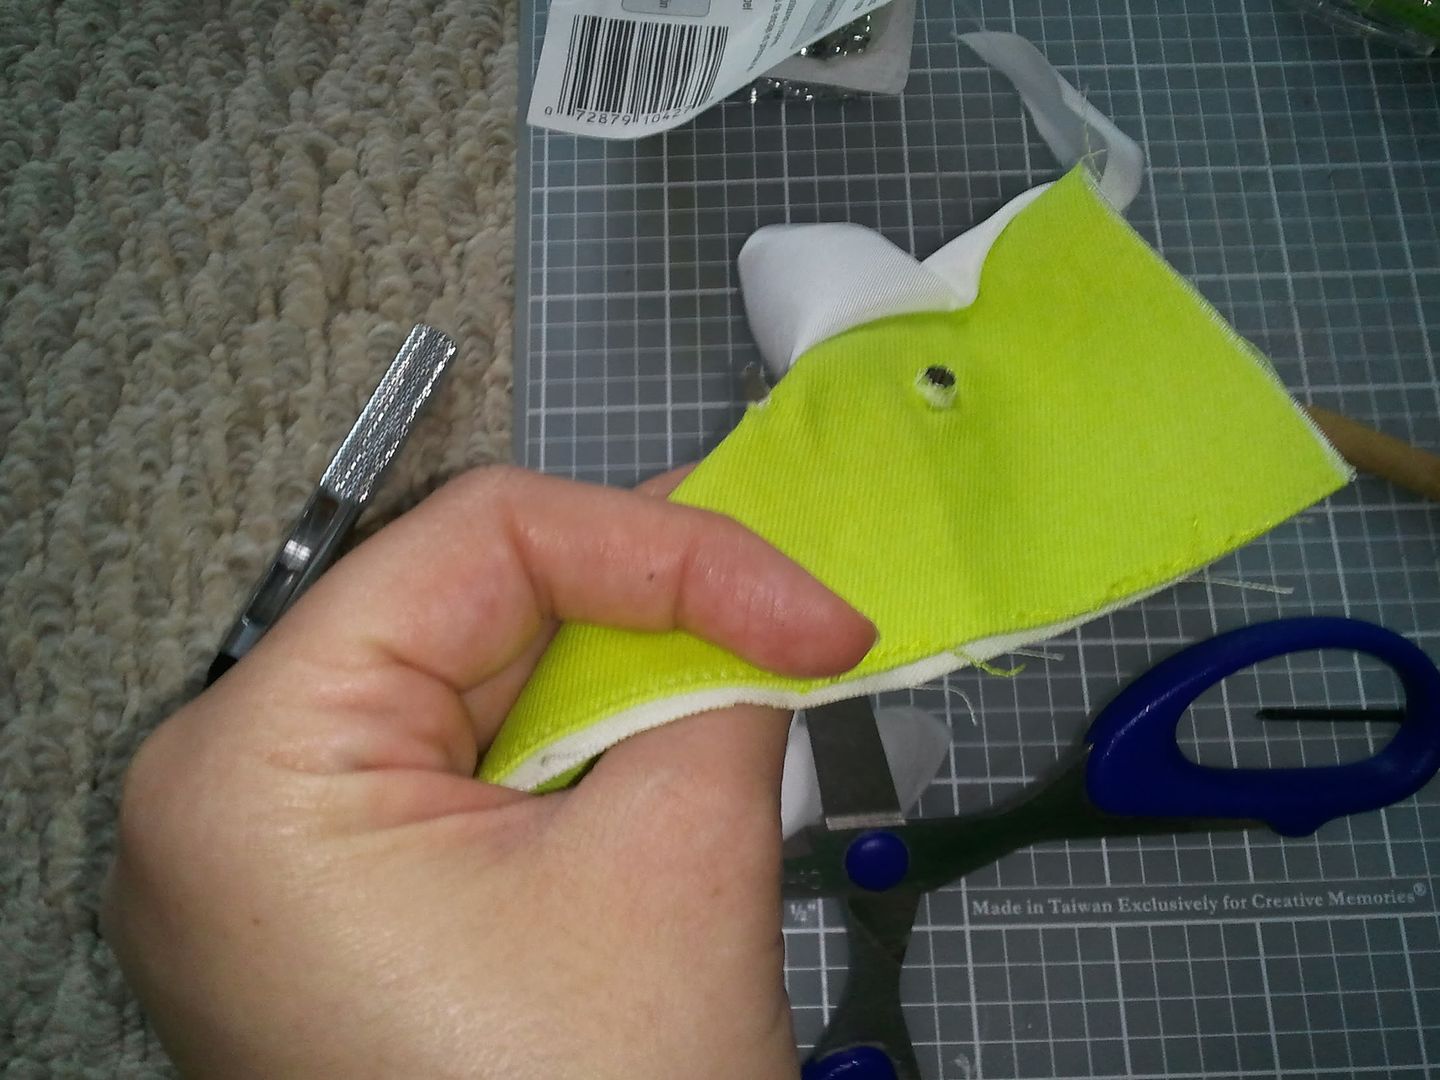
Place your eyelet tool (make sure it's the right size tool head for the size eyelets you are using) on the back of your eyelet and, using your rubber mallet, give the eyelet tool a few strong taps at the back end.

I had to use the larger size eyelet tool for the eyelets I used (see above).  Be sure you use the right size!
So, now that you have one eyelet in, repeat for the remaining 5 until all 6 are in securely and you are ready to lace in your ribbon.  I choose a pretty simple yellow and white grosgrain ribbon.  Cut the ribbon longer than you will ultimately need it and lace up in whatever manner you prefer:


Once laced up, tie a pretty bow at the top and cut your excess down to the length you want it to be.  Fray Check the ends of your ribbon to keep them neat and trim...

Decide where you want to put it on your mat and then, take a nice ribbon and hem the ribbon around the edges with a top stitch to secure your shoelace tie to the mat.

It's that easy!  No big deal, right? Right!

Next time, I will post the final pocket: THE ZIPPER POCKET!

Tuesday, July 26, 2011

The Notions Fascination Playmat: Button Pocket

Hello again, so as promised, I said I would post about the next step for the Notions Fascination playmat: THE BUTTON POCKET! (FYI – I found this step to be the most time consuming for me).

I started the button pocket with a square-sized piece of fabric which become the outside of the pocket. Since my fabric scrap was already pretty small (and I was determined to make it work), I decided to give it some pizzazz by adding a border around it in satin ribbon (which would finish off the edges while maintaining the size). Ironing REALLY helps in getting everything to stay flat and creased. I lined the 3 sides that would be visible (the left, right, and bottom - remember, the top will be hidden by the pocket flap) and then folded back the fabric along the top to hide the edge.


Then, I found a different piece of fabric that was about the same size in width (only slightly wider), but was a little more than twice as tall – this will become your pocket lining. Taking this tall piece of fabric, I pinned it to the top side of the ribbon-lined outer pocket that I had just made (again, wrong sides together) and then folded the sides in so that they would be the same width as my outer pocket (fold them in wrong sides together so that you won't feel the edges when you reach in the pocket).


Top stitch the top side of your outer pocket square so that it should now be connected to the pocket lining.


Now, fold your pocket lining so that the front part of the lining matches the size of the outer pocket square… and the back part of the lining should peak out just slightly above the pocket. Pin along the edges.


Finally, we will craft the pocket flap. This is really your preference for what shape you want it to take, but you want to make sure it will be big enough to come about half way down on the outer pocket once you connect it to the top of the inner pocket’s back lining.


Anyway, I chose to use a rounded rectangle shape. I folded a rectangular piece of fabric in half and rounded the edges. I then cut along the fold, put the fabric with wrong sides together, and stitched along the curved edge. Turn the fabric inside out and topstitch along the curved edge to give it a more finished look.


Now, fold the pocket flap down slightly along the unfinished edge and pin your pocket flap behind the back side of your pocket lining. Keep your pocket and the pocket lining flat, but fold over your pocket flap.


At this point, you can determine where you need your button to go. Mark the ends for your button hole and, following your sewing machine’s instructions, create your button hole on the pocket flap. This was my first time ever creating a button hole on my new machine and it was really easy, but I did need to refer to my instructions. Once you've finished your button hole carefully open it with your scissors and be sure to Fray Check the seams to keep them nice and neat!

Now, just align your button on the front side of your pocket, sew it on, and try it out. Now that everything is working, attach your pocket to where it will need to go on your inner placemat.

Note: Took this pic before doing the button hole... was eager to figure out where I would put it in the scheme of things.

So, we have 2 of the pockets complete… one more to go, but let’s take a break and do the SHOELACE TIE next. Stay tuned!