
Sorry for the delay on posting this next step… it’s been a busy few days. Anyway, I’m here now and ready to post how to make the ZIPPER POCKET!
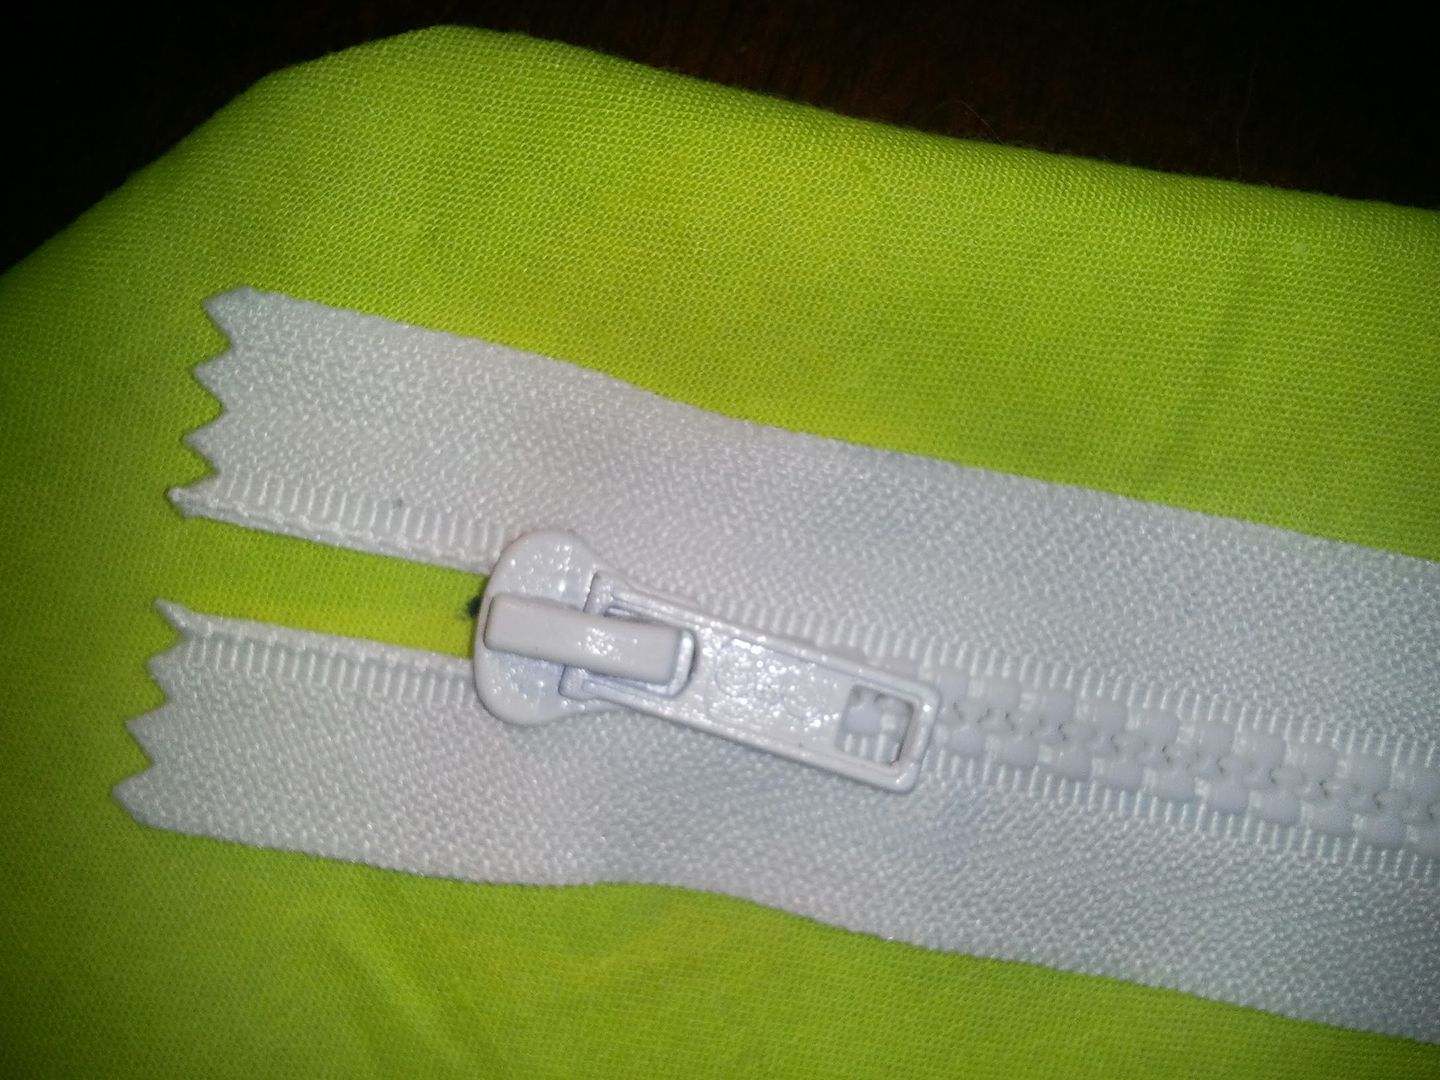
This was actually rather easy, even though I saved it for last with this sense of dread for dealing with a zipper. I wanted to use a big and easy zipper, so I went out and bought a short plastic sport zipper… something that will be easy for my daughter to grab and pull on and that would open with no problem.
As far as your fabric goes, you will need 3 triangles of fabric. Cut them the way that they will ultimately lie (cut the outer pocket and the inner pocket with wrong sides together and cut the back of the inner pocket so that the right side will show when the pocket is unzipped). Basically, if you lay out all your triangles with right side facing up, there should be one triangle that is opposite from the other two.
Ok, so now, take the triangles that will be your pocket (the one that is the outside of the pocket and the one that is the lining) and place them right sides together. Stitch around the triangle, but leave a small area unstitched in the corner for turning. Turn the pocket right sides out, fold the unstitched corner under, and iron flat.
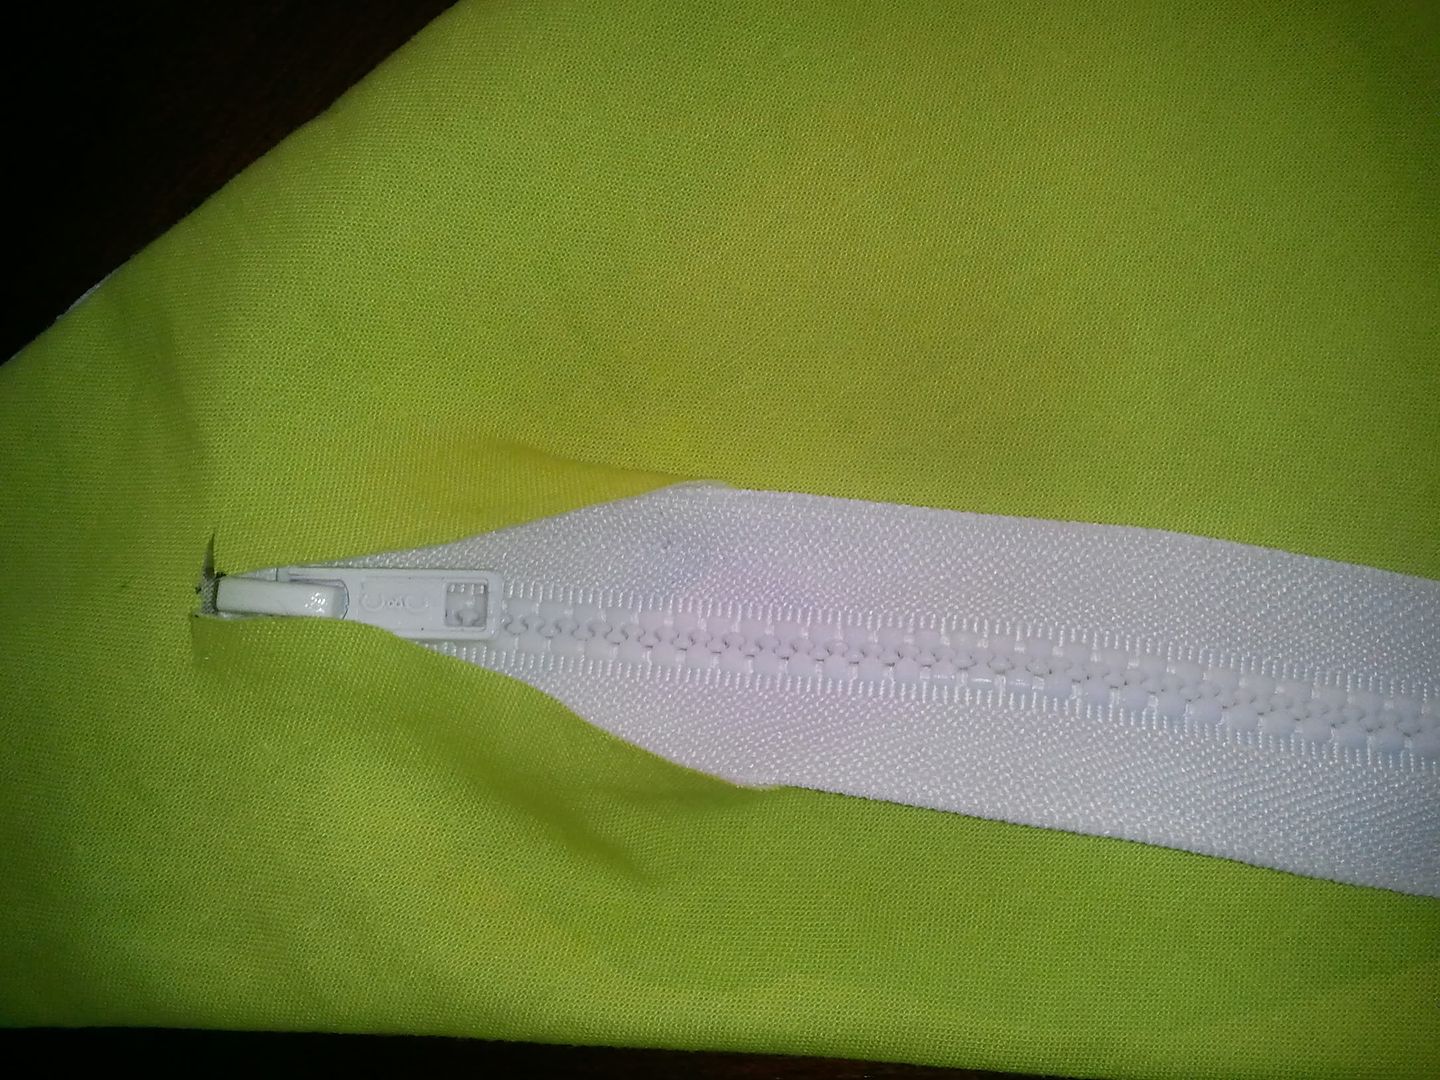
Now the tricky part - hold your zipper up to your newly created pocket flap. Mark a small dot where the actual zipper starts and a dot where the metal ending is for the zipper.
This was actually rather easy, even though I saved it for last with this sense of dread for dealing with a zipper. I wanted to use a big and easy zipper, so I went out and bought a short plastic sport zipper… something that will be easy for my daughter to grab and pull on and that would open with no problem.
As far as your fabric goes, you will need 3 triangles of fabric. Cut them the way that they will ultimately lie (cut the outer pocket and the inner pocket with wrong sides together and cut the back of the inner pocket so that the right side will show when the pocket is unzipped). Basically, if you lay out all your triangles with right side facing up, there should be one triangle that is opposite from the other two.
Ok, so now, take the triangles that will be your pocket (the one that is the outside of the pocket and the one that is the lining) and place them right sides together. Stitch around the triangle, but leave a small area unstitched in the corner for turning. Turn the pocket right sides out, fold the unstitched corner under, and iron flat.
Now the tricky part - hold your zipper up to your newly created pocket flap. Mark a small dot where the actual zipper starts and a dot where the metal ending is for the zipper.
Using scissors, carefully cut a straight line through your triangle, connecting the dots (you should cut through both pieces of fabric so we can hide the zipper between the two).
Now, along the dots you drew for the zipper, cut into the fabric on a 90 degree angle about ¼ of an inch on each side to allow a flap for us to fold under. Use your iron to help you in making sure your newly created flaps are all folded under. Now, grab some Fray Check and dab some along the rough edges at the top and bottom of your opening to make sure the fabric stays in tact.
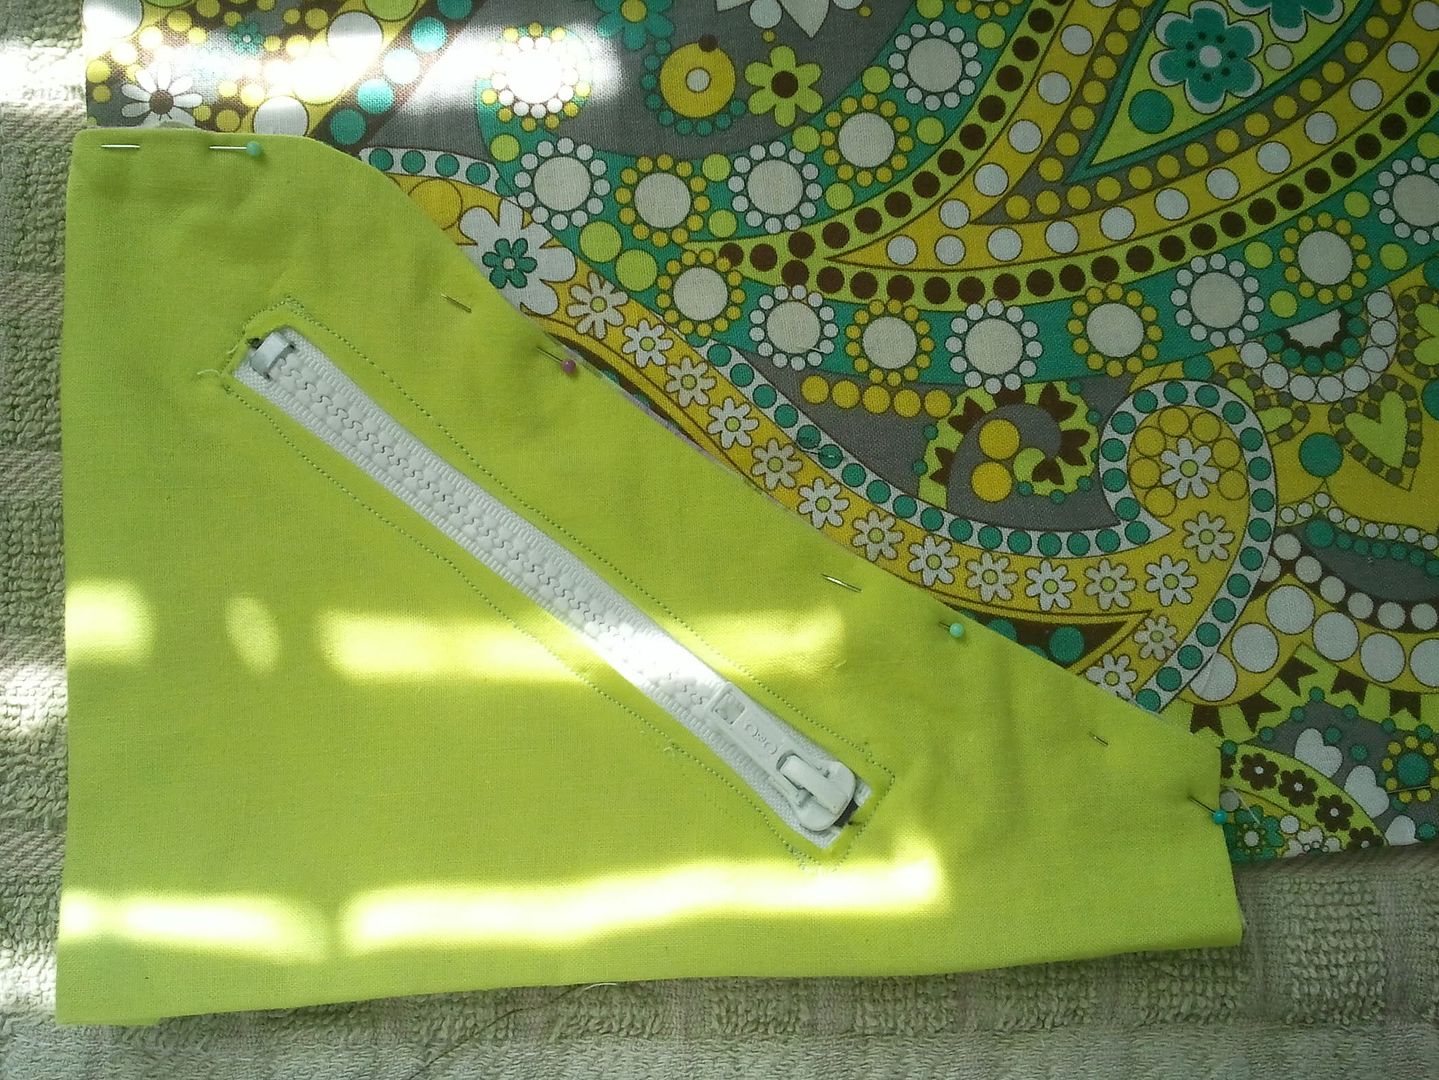
Carefully place your zipper into the opening you created for it, making sure that it is in between your two pieces of fabric. Pin it in place.
Carefully place your zipper into the opening you created for it, making sure that it is in between your two pieces of fabric. Pin it in place.
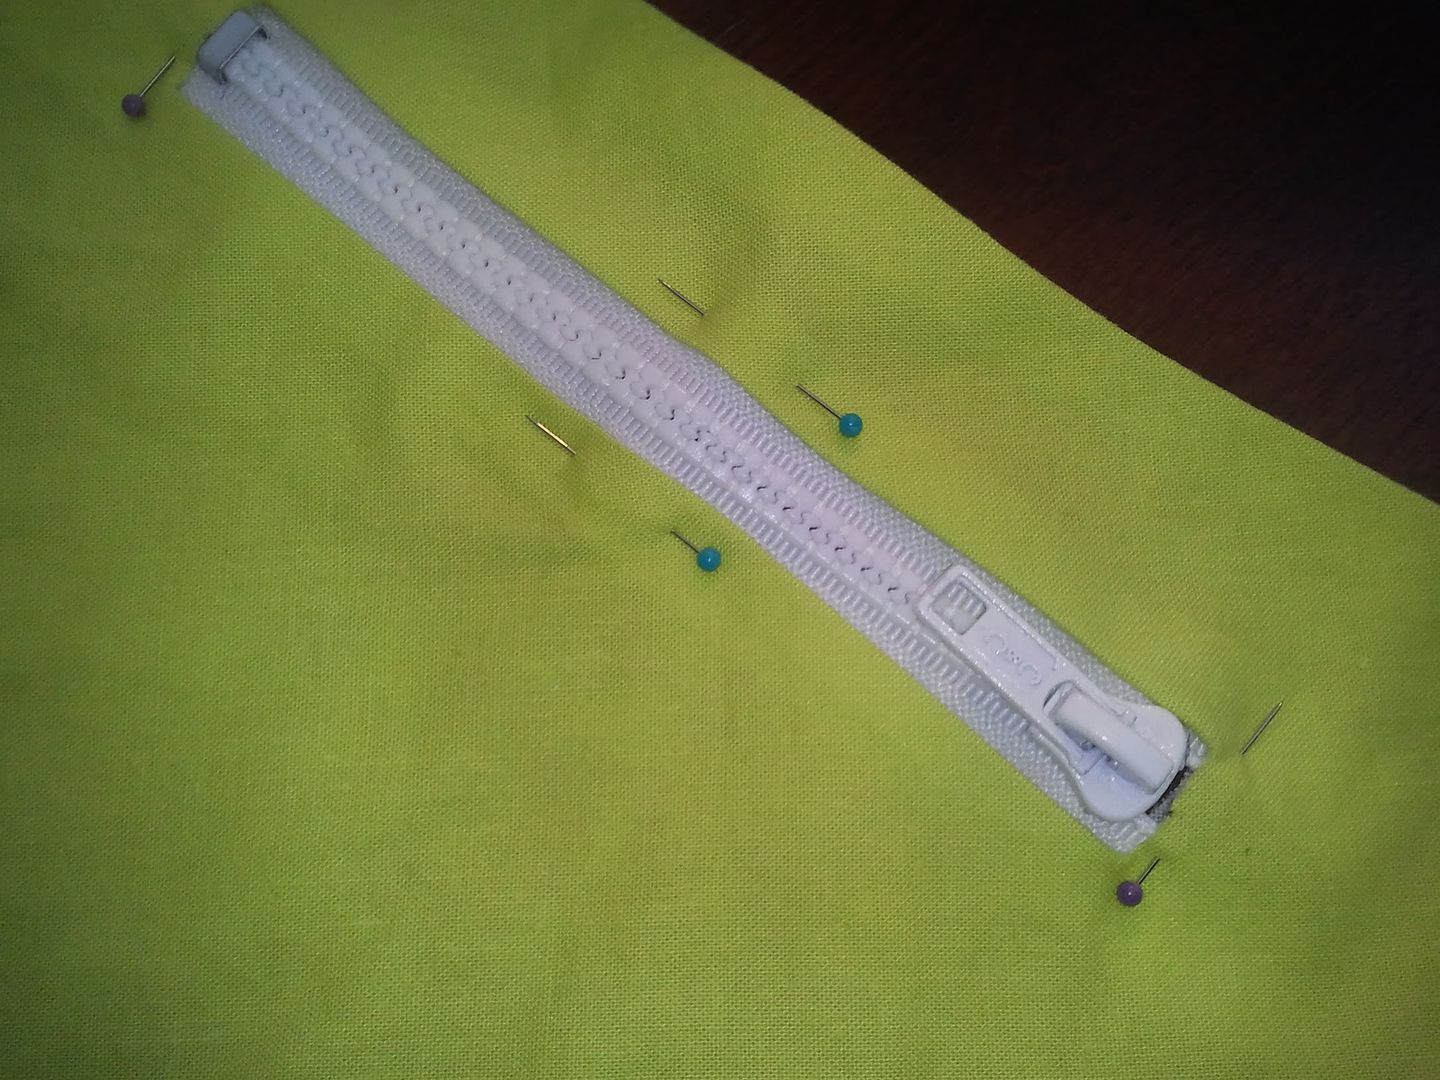
Now, pull out your zipper foot for your sewing machine. Carefully sew your zipper into place along all sides. Everything should be tucked into the area in between the two pieces of fabric, so it should be an adorable little two sided triangle.
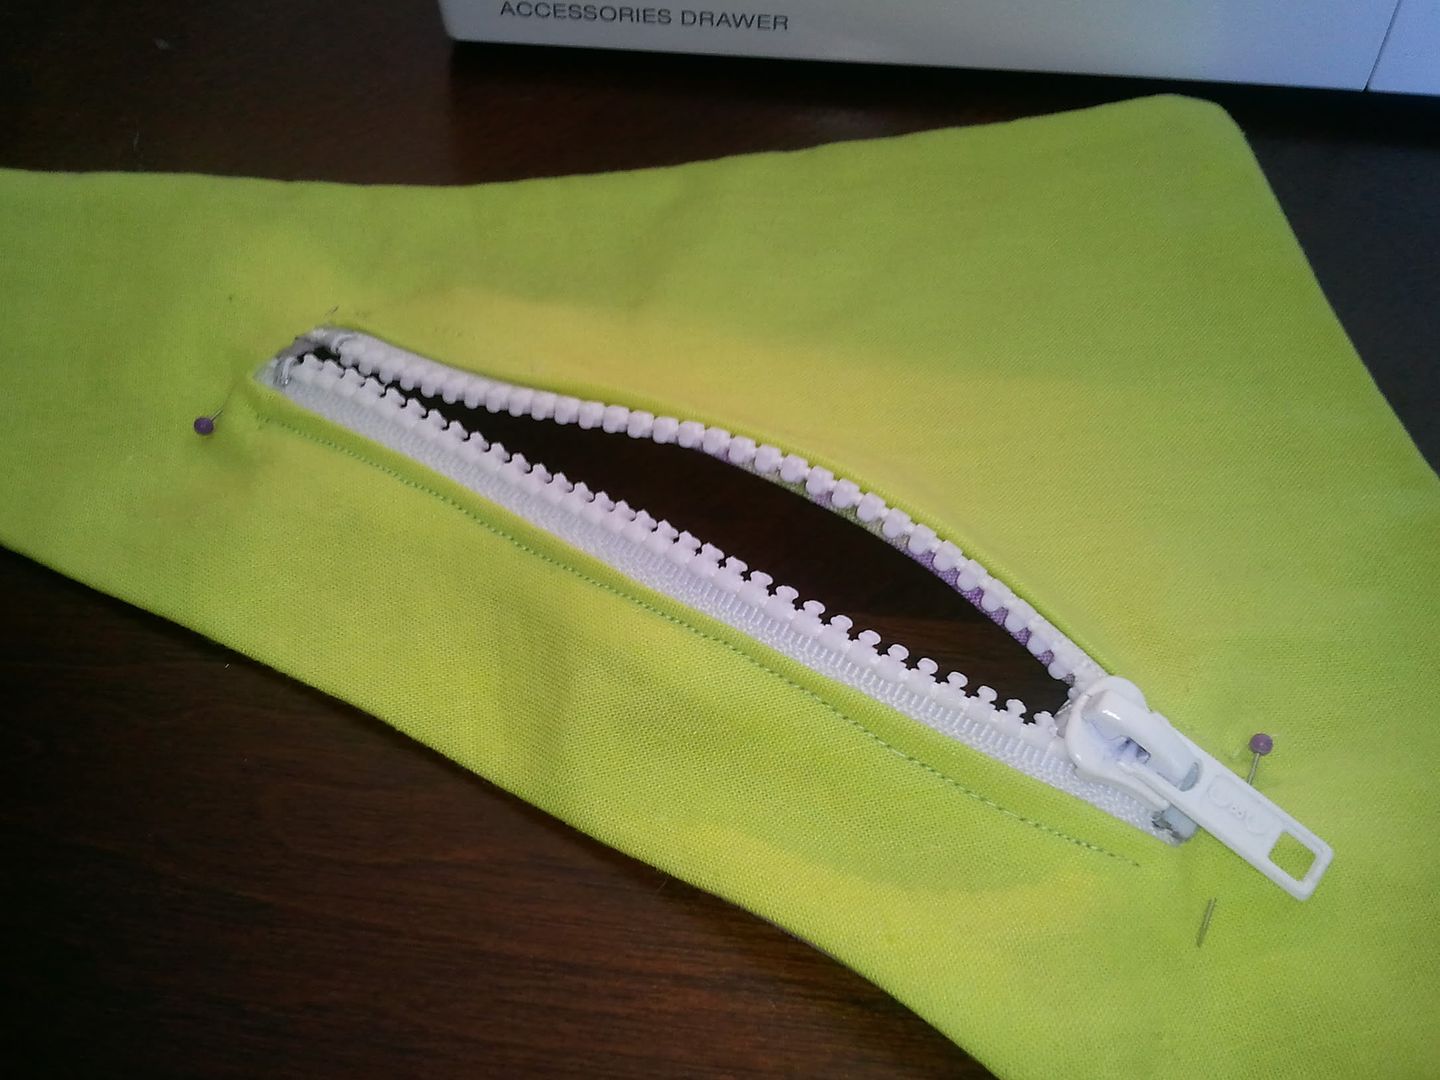
Alright, so that was your actual pocket, but we obviously want there to be a lining for inside the pocket when it’s opened. Take that third piece of fabric you cut, fold over the edges to align it with your zippered pocket piece, and pin the entire thing where it will ultimately be going on the inner placemat.
Hooray! That was the last major thing that you needed to create. Now, it’s just about the little details. We’ll go over those extra little things that you can do to really make this special in my next post and then finish we’ll off the entire project! Stay tuned!
No comments:
Post a Comment