
So, my baby girl is turning one year old in about 2 weeks and, let's face it, she is pretty spoiled and has everything a girl her age could possibly need (since she is the first grandchild for both sides... and my parents as well as my husband's parents dote on her).
Lately, she has been fascinated by her seat belt in the car (I'm praying she doesn't figure out how to undo it since I'm really not ready for that battle yet). Something about buckles just amazes her, so my mother had suggested maybe getting her one of those dolls that has buttons, snaps, velcro, zippers, etc... and I thought, "Hey! I can make her a playmat that does the same thing." Let me first of all say, I figured this would be great practice for me since I just got my sewing machine for Christmas and it has all sorts of gadgets that my old sewing machine didn't have at all (let me disclose, my old sewing machine was a $20 one from RiteAid that was supposed to just be for quick fixing... I killed the poor thing since I asked it to make a whole lot more than what it was meant for).
So anyway, here is what I came up with:
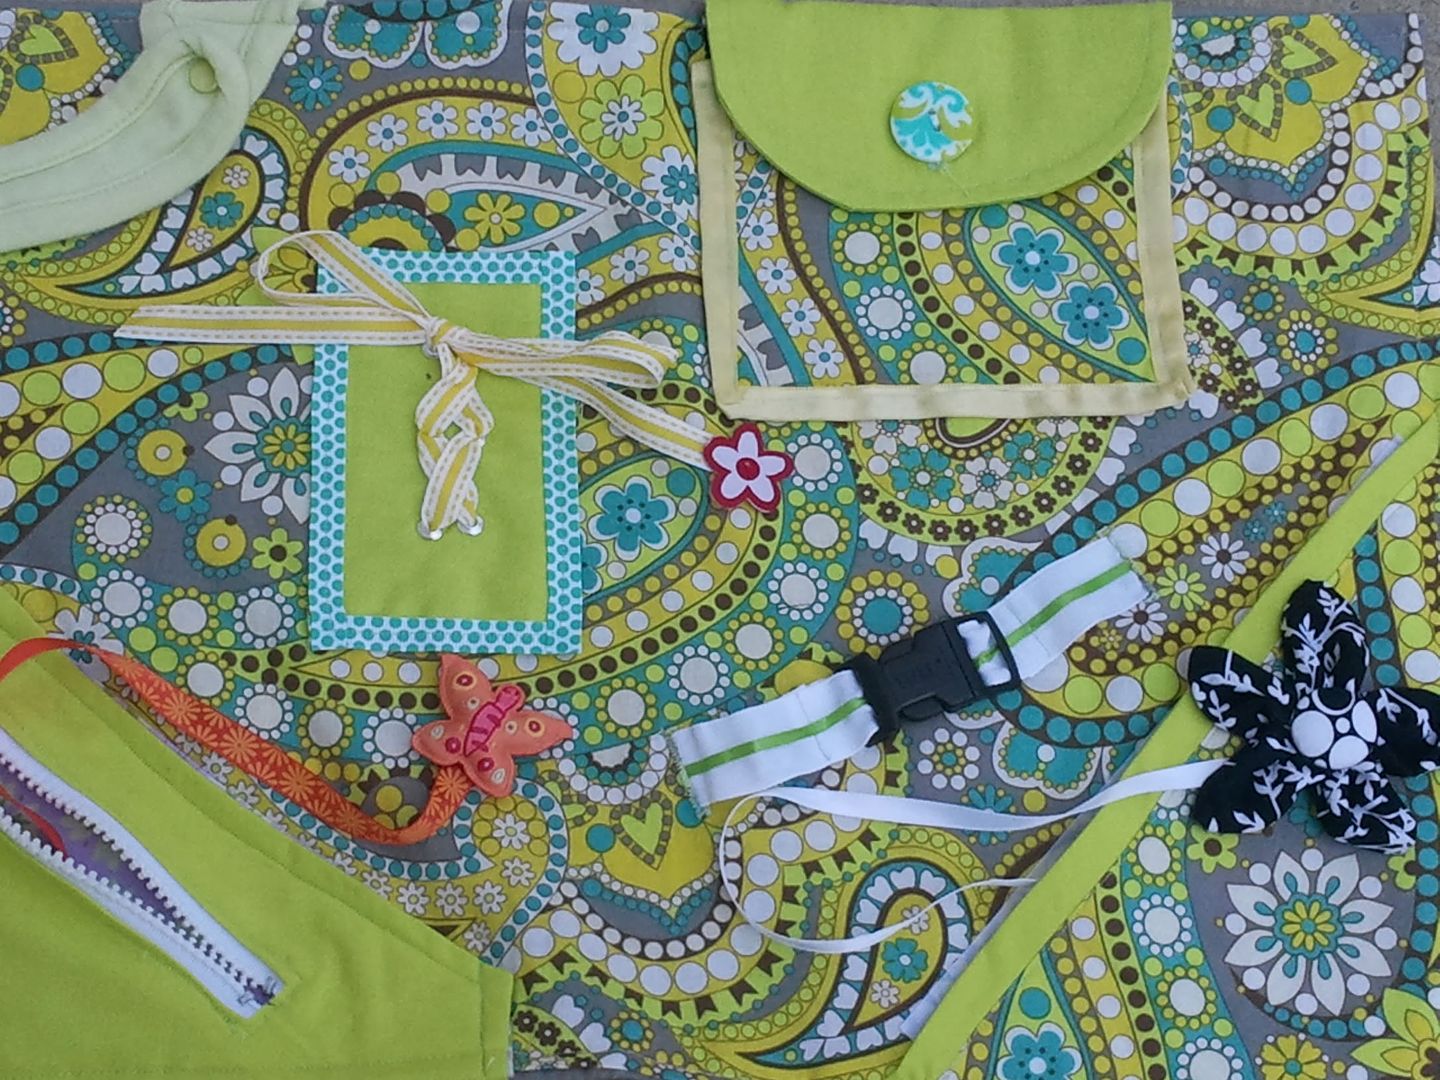 |
| Playmat Opened |
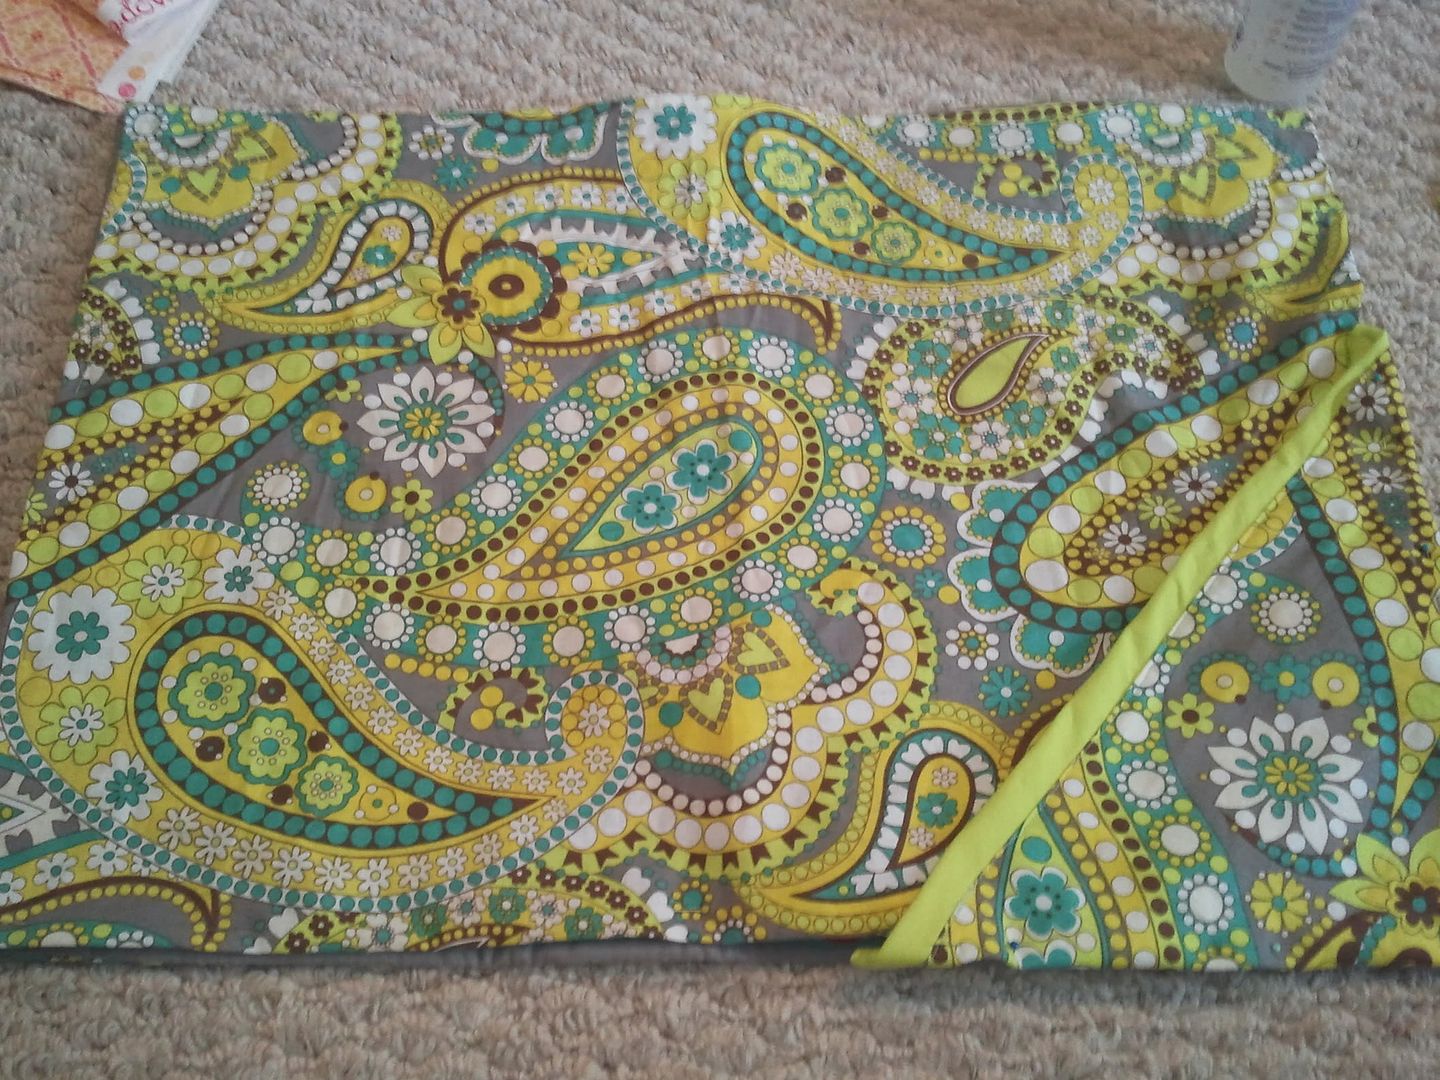
 |
| Playmat Closed |
Ok, so for the sake of keeping this neat, concise, and organized, I'm going to post the various steps I took to bring this "Notions Fascination" playmat to completion over the course of the next few days. Since this has lots of working parts, it's easier to do one thing at a time.
So, anyway, I gathered what I would need and set to work. Ultimately, you will need:
- fabric placemats (x2)
- small plastic zipper
- ribbon
- eyelets (and eyelet tool... with rubber mallet)
- velcro
- buttons (x2)
- plastic connecting clip
- snaps
- elastic
- fabric scraps
For today, we'll start where I started: VELCRO POCKET!
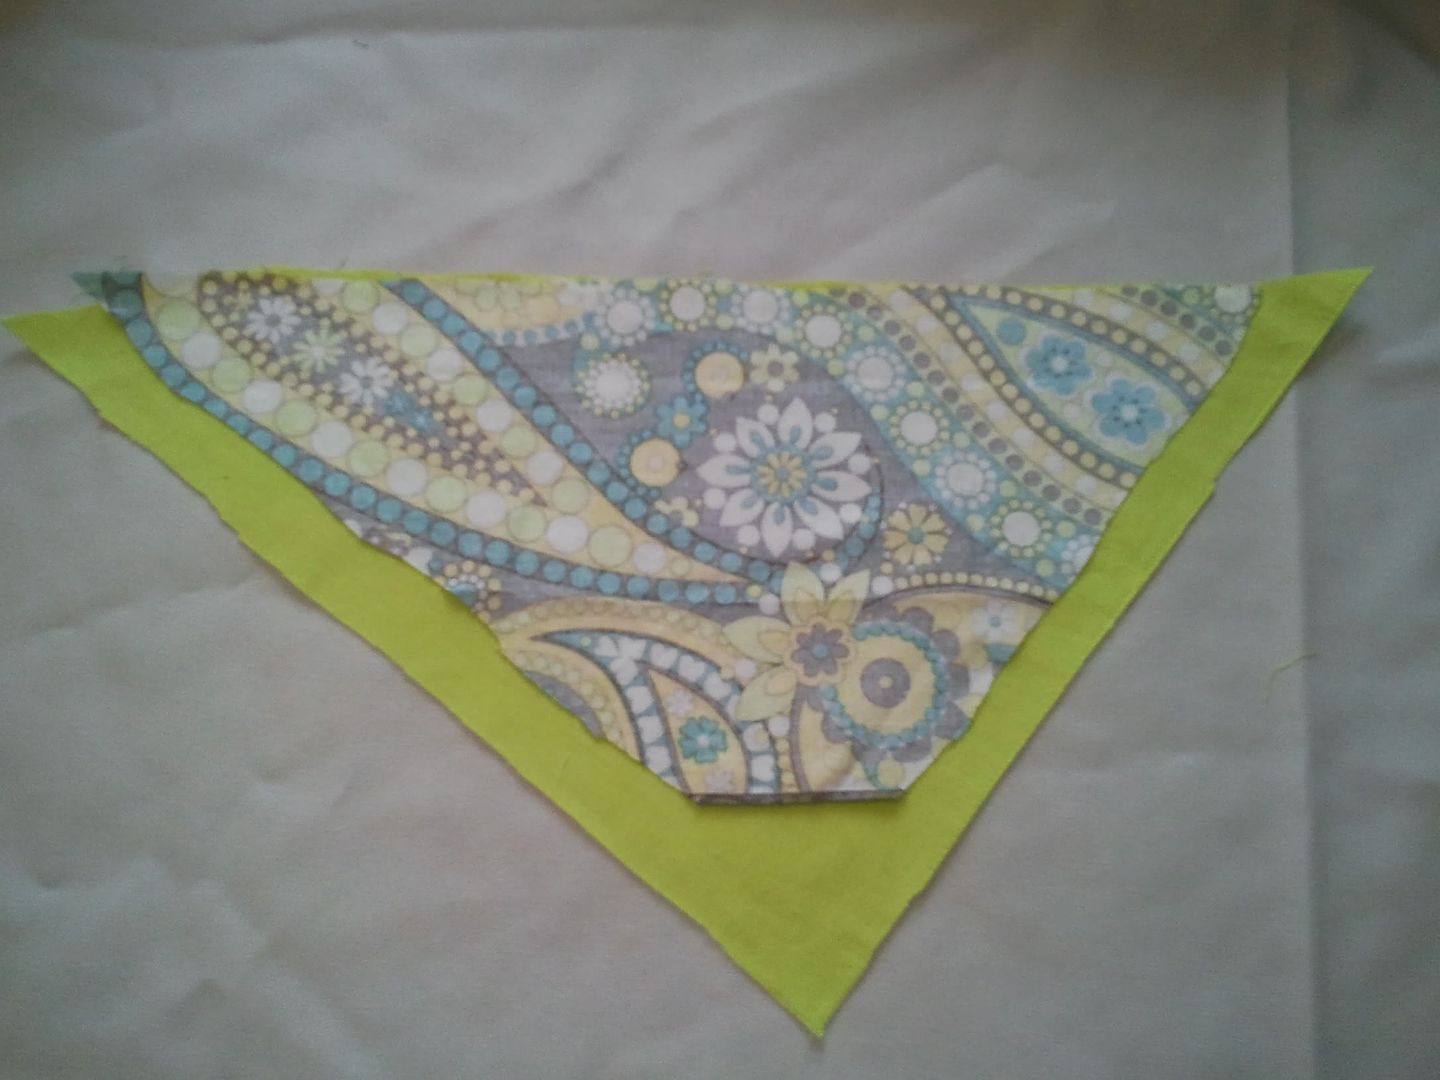
I wanted to do the velcro by making a pocket that would open in the corner. I wanted the inside to be pretty should she look in there when the pocket is opened, so I made sure to line the inside of every pocket that I created.
I took two triangular scraps of fabric (one bigger than the other and cut at the right corner to allow for turning) and sewed them, wrong sides together, along the hypotenuse (the side that does not hold a right angle). Once sewn together, I pulled the little triangle to align with the larger triangle along the other two sides and sewed along the sides, leaving the corner open to turn it inside out. It left for the hypotenuse showing a peak of the inside pocket color.

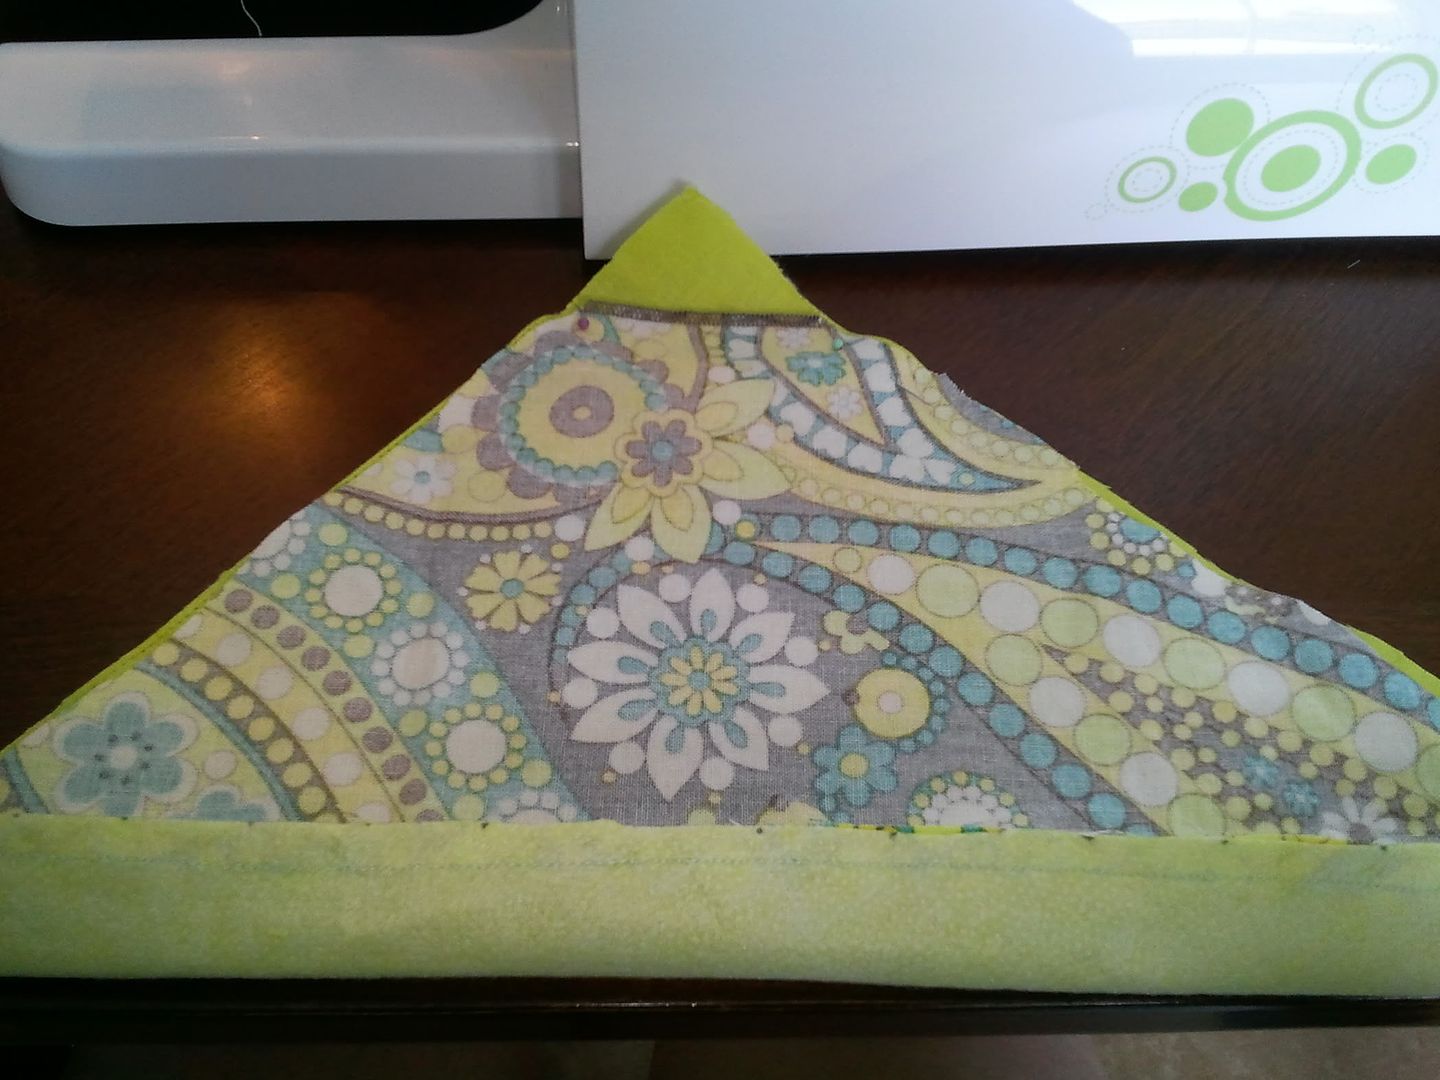

Next, use fabric glue to attach the velcro to what will be the inside of the pocket along the hypotenuse of the triangle. Allow the glue to set and then top stitch to lock the velcro in place and make the pocket look more finished from the exterior.

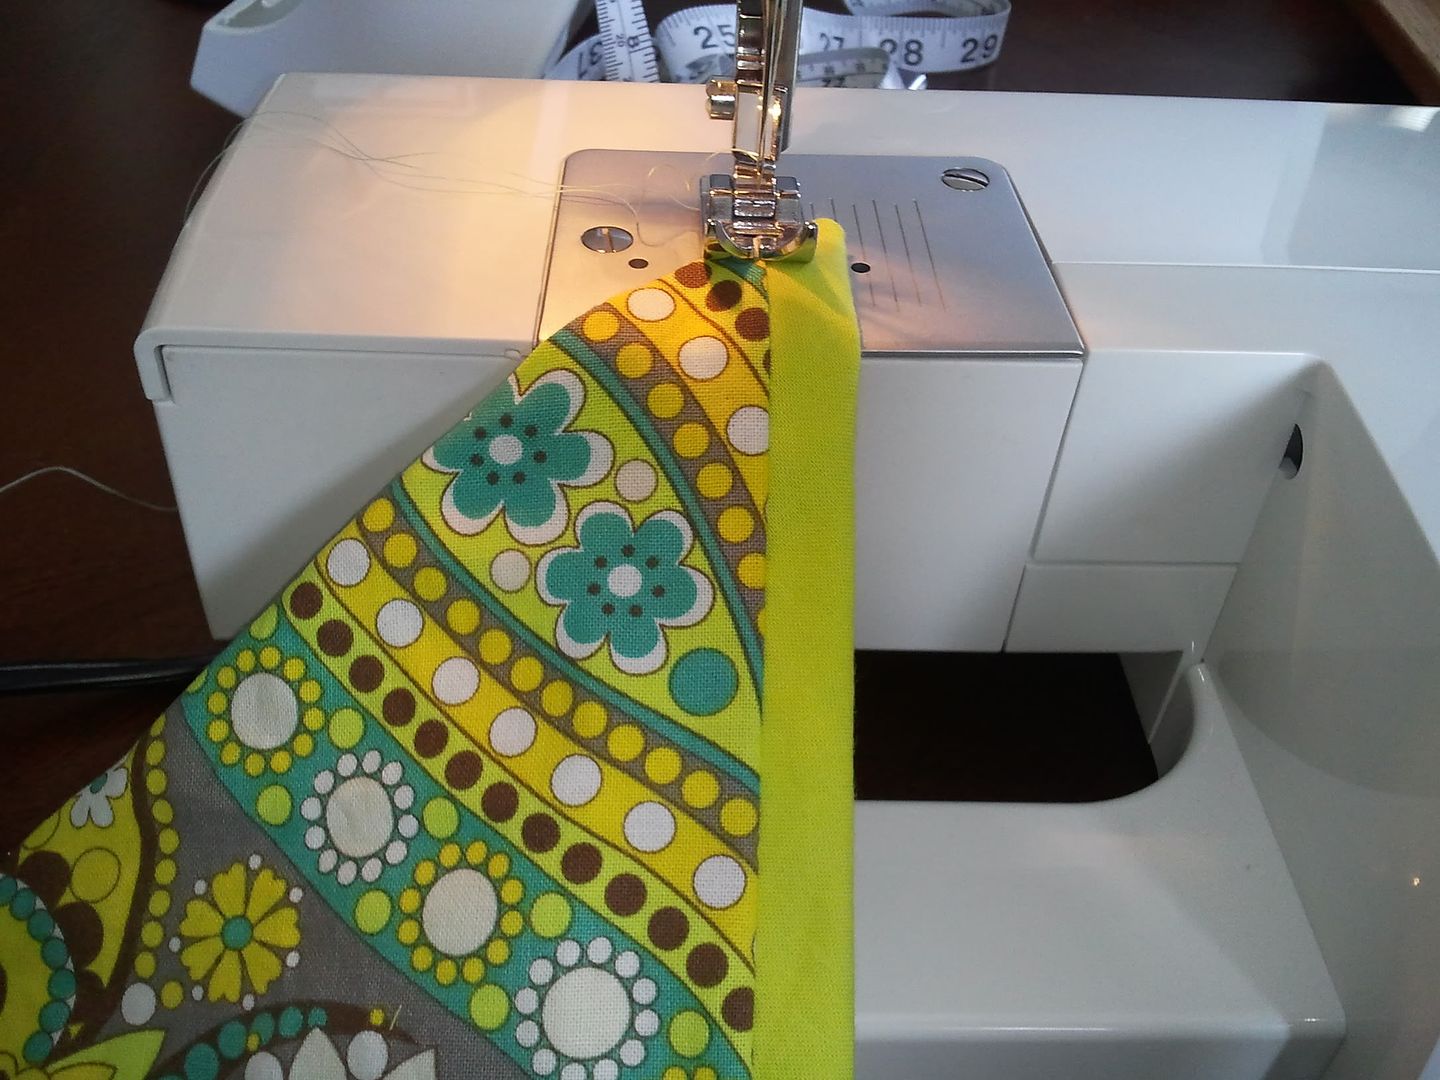
I, then, used a different fabric of the same size as my pocket and put that along the placemat (you do not need to do this, but I wanted the inside of my pocket to stand out and be different from the placemat color). Align the opposite velcro strip on my inner placemat and, again, fabric glue the velcro strip to where it needs to go. Once it is dry, just as before, run a stitch along the velcro just to lock it in place.
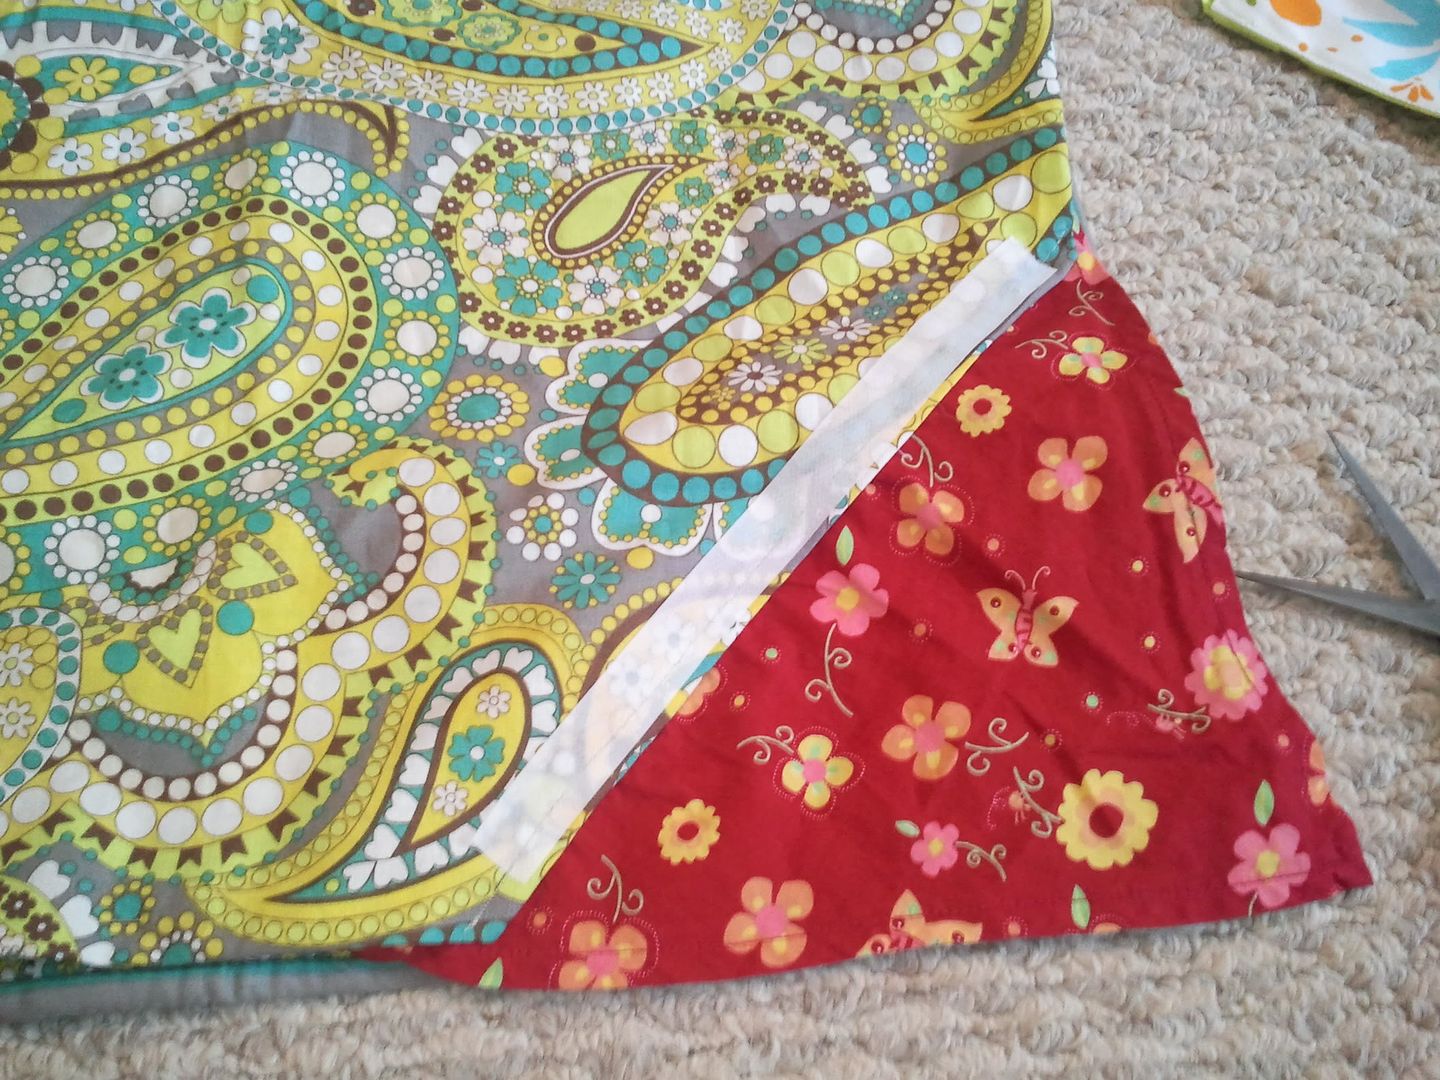
Pin your pocket on and fold over the edges to the back of the inner placemat.
Phew! Step one is done! Stay tuned for the next step, the BUTTON POCKET.