
Anyway, I was helping my friend make some hair bows for her 3 daughters who were going back to school. She likes simple bows that aren't overly huge or over the top with flair. I showed her how easy they were to make as I made 2 different hair bows for each of her 3 daughters. I figured it would be a good tutorial to post for those who want to make their own bows customized to the style/colors/size that they want.
Let's get started by talking ribbon... If this is your first time making a hair bow, I highly recommend starting with grosgrain as it is the easiest the work with and holds the bow shape really well. Satin (which is what I'm using in this example since it's what I had lying around at the time) is very pretty, but keep in mind that it is a bit flimsier than grosgrain, so it isn't going to hold a stiff bow quite as nice. For everyday use, I recommend grosgrain; For special occasions, satin works well. Also, usually I opt for 5/8" or 1" ribbon, but depending on the age of your daughter and the size of the clip you are covering, you may decide to opt for something bigger.
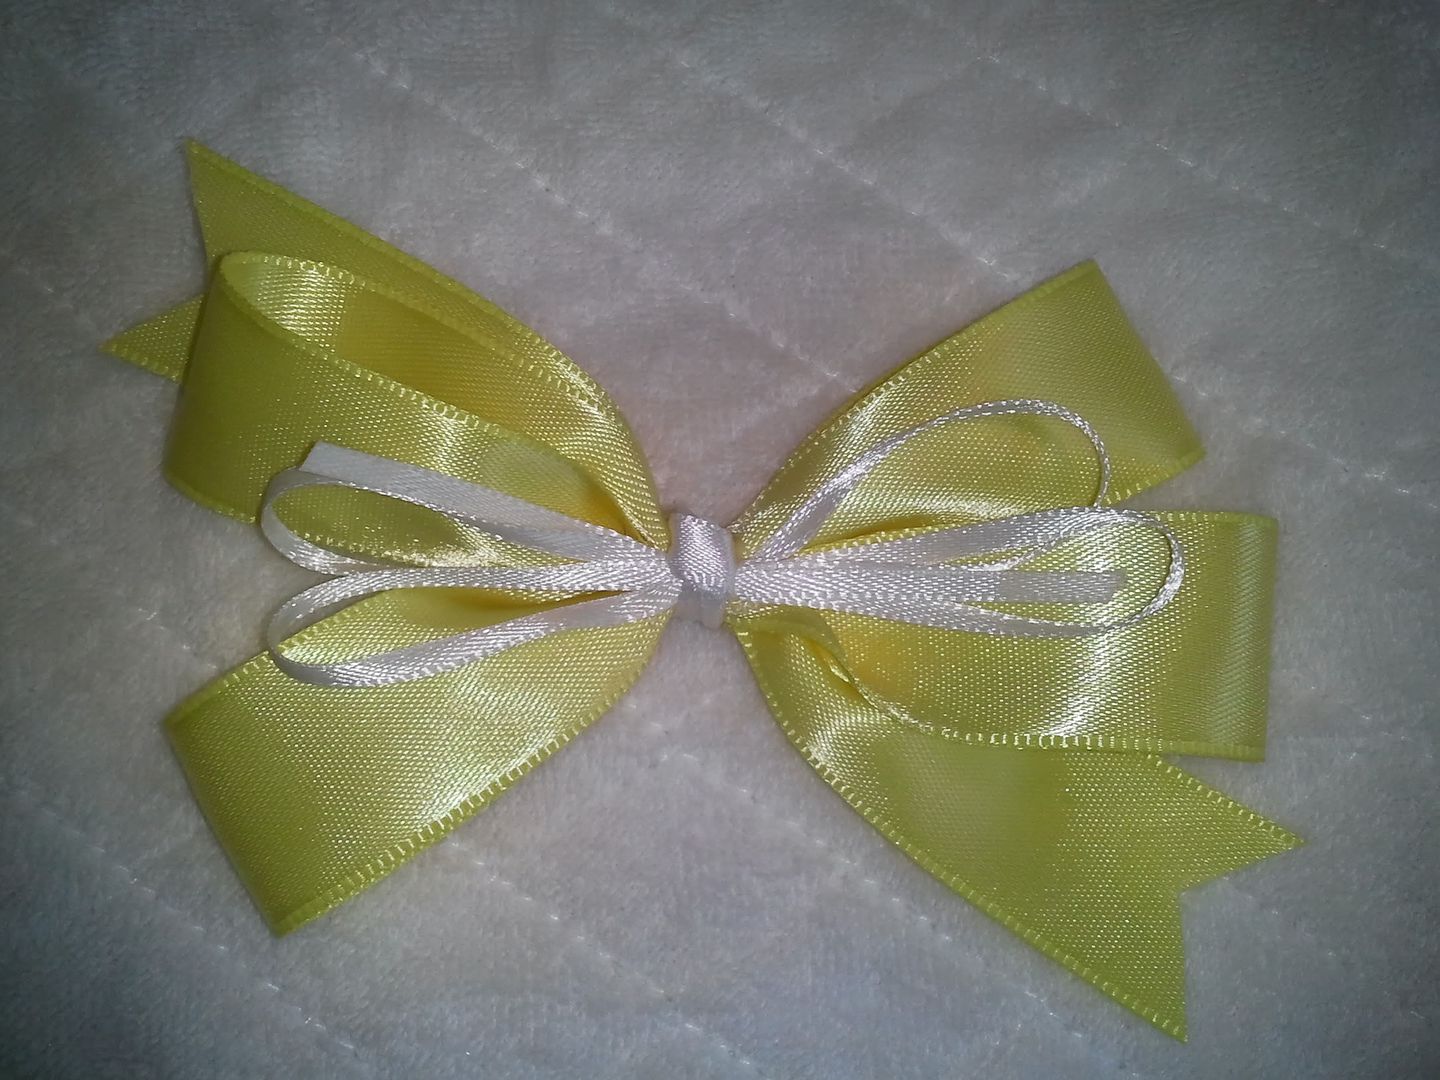
Ok, so let's get started with my favorite bow. This is my "go-to" bow when I'm making hair clips since it's very versatile and can be for dress down or for dress up.
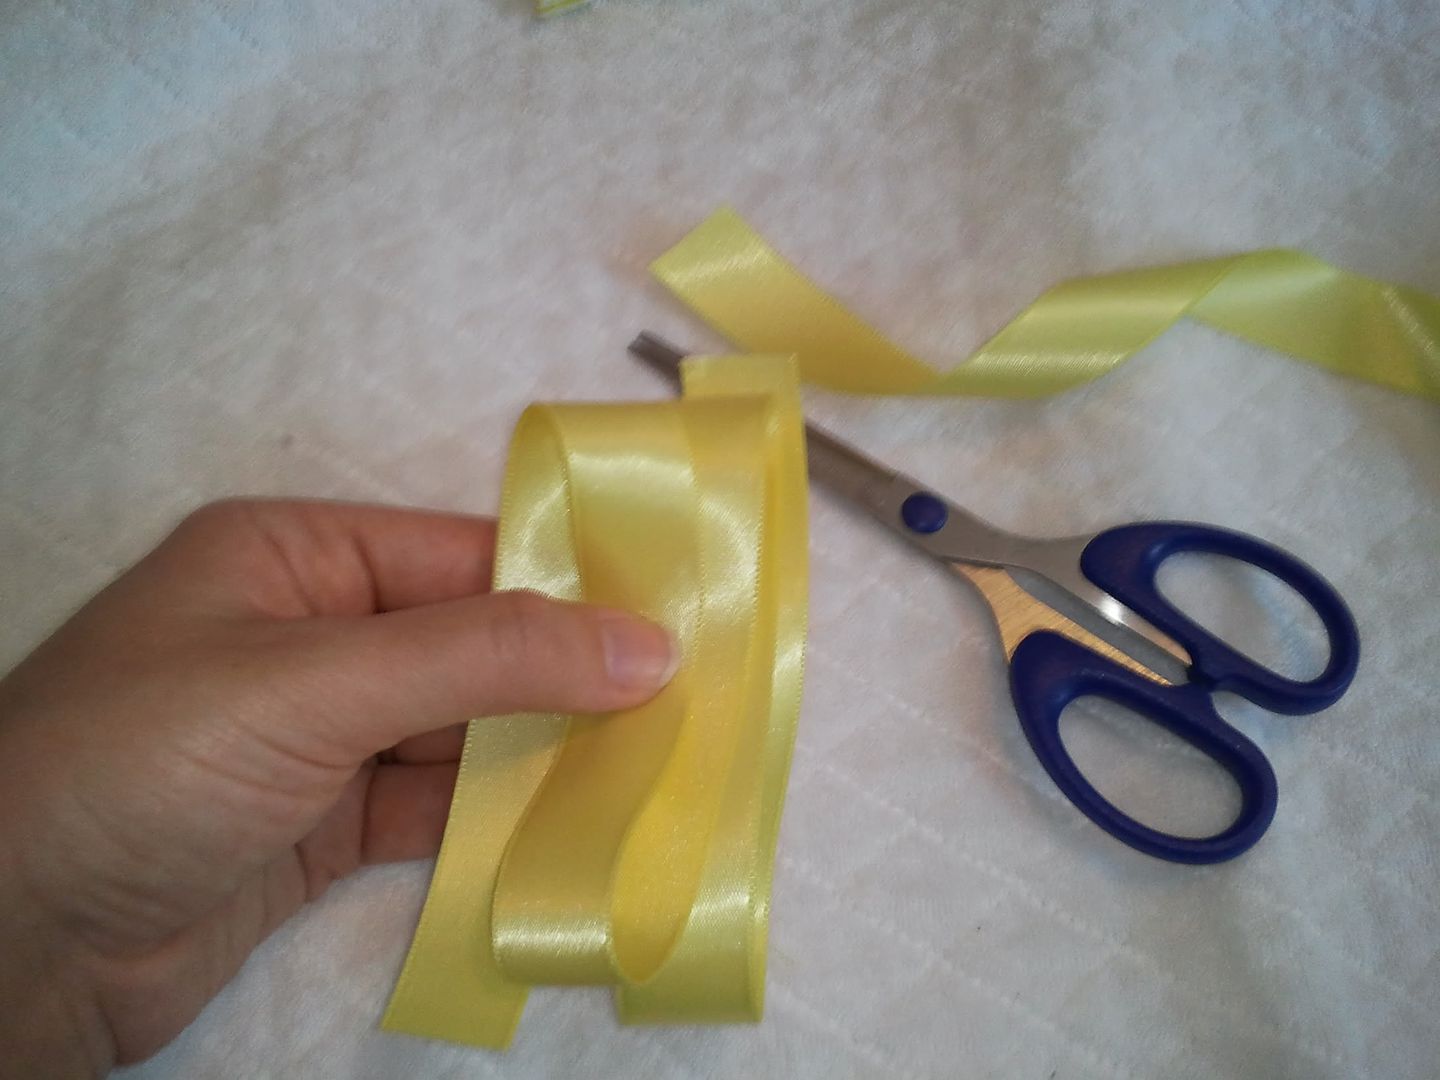
Leave your ribbon on the spool to begin so you can play around with what size you are wanting. Take the end of your ribbon, size it to the total width you will want the entire bow to have and fold it back.

The length from the start of the ribbon to where your fold is will be the horizontal width of your ribbon when complete.
Now, fold your ribbon over again at the point where it is almost even with the start of the ribbon (allow for a little extra room on your end since you will likely need to fray check it and cut it).

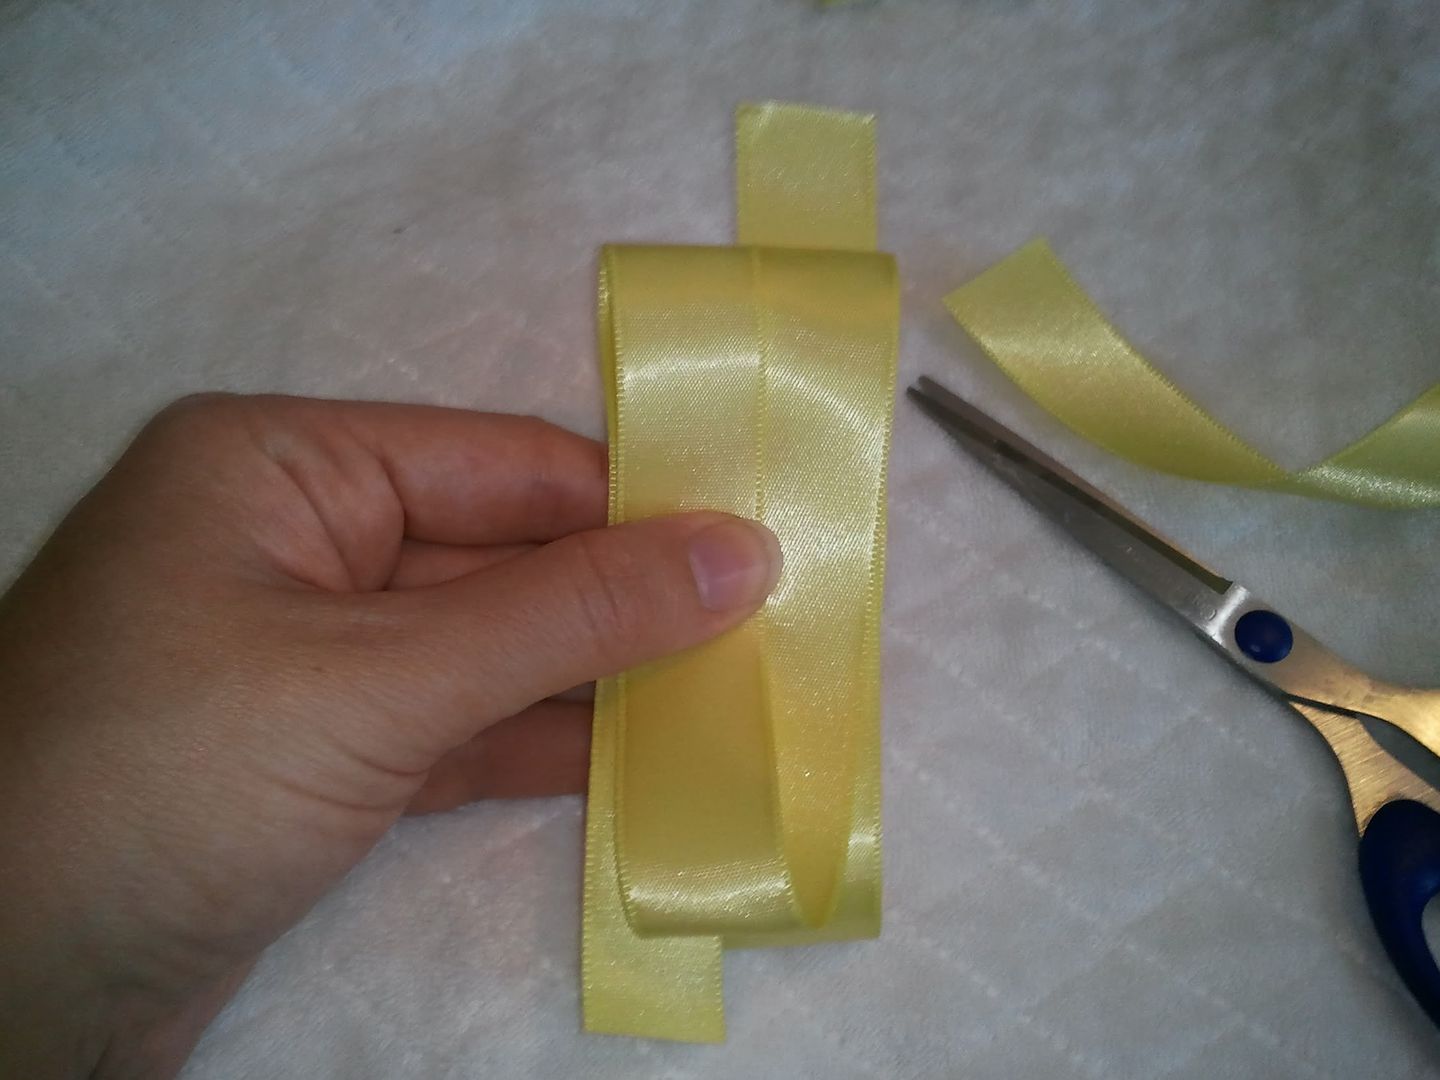
Now, fold again (even with your first "top" fold) and come back.

Alright, now one last fold (again, even with your last "bottom" fold) and back up.
Now, cut your ribbon (again, allow for a little room to be able to fray check and cut the end). This will be your bow. To recap, you should have 4 folds and one of the ends should be at the "bottom" and the other end should be at the "top").
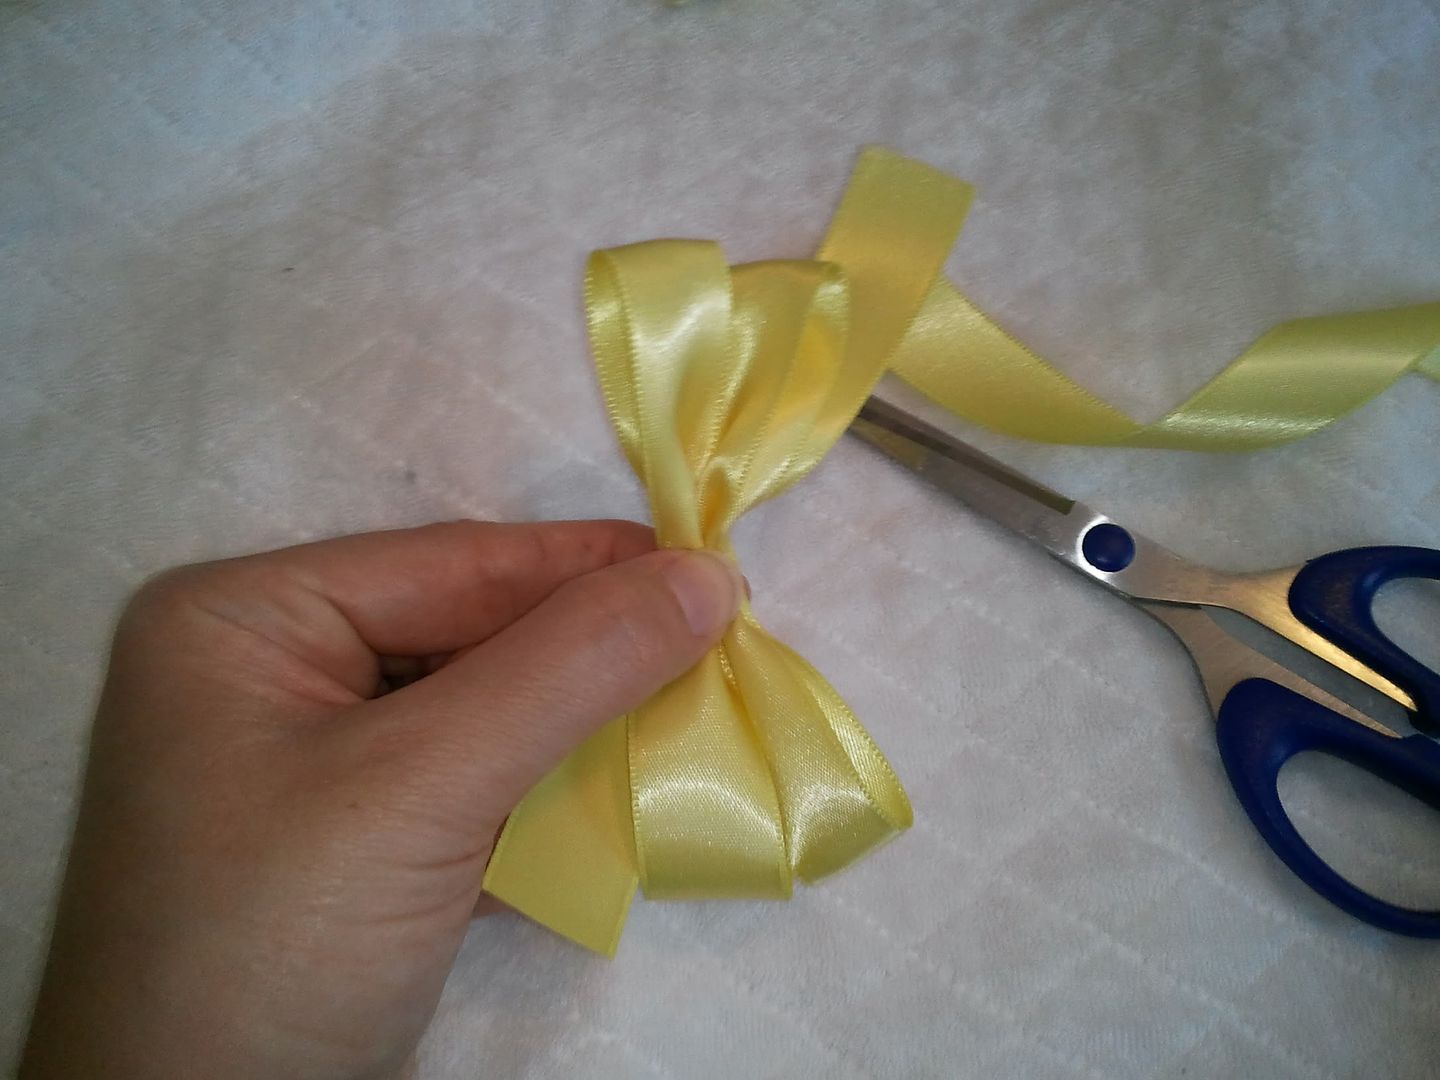
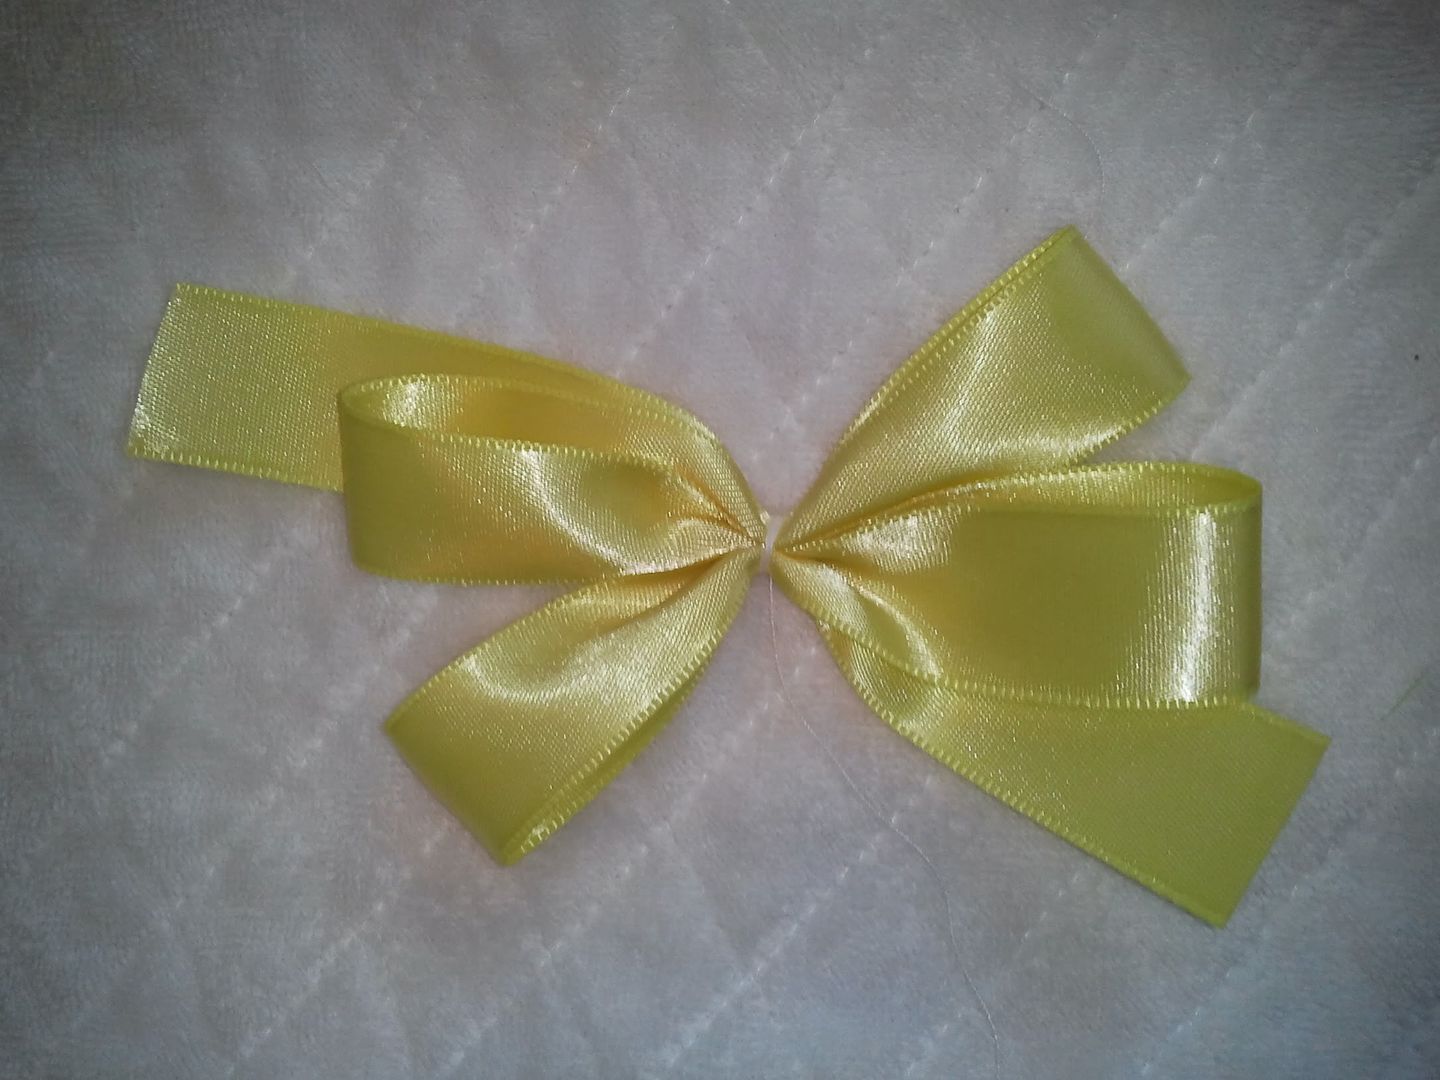
Now we just have to make it look all pretty. Start by trying to better organize the ribbon in your hand like so:
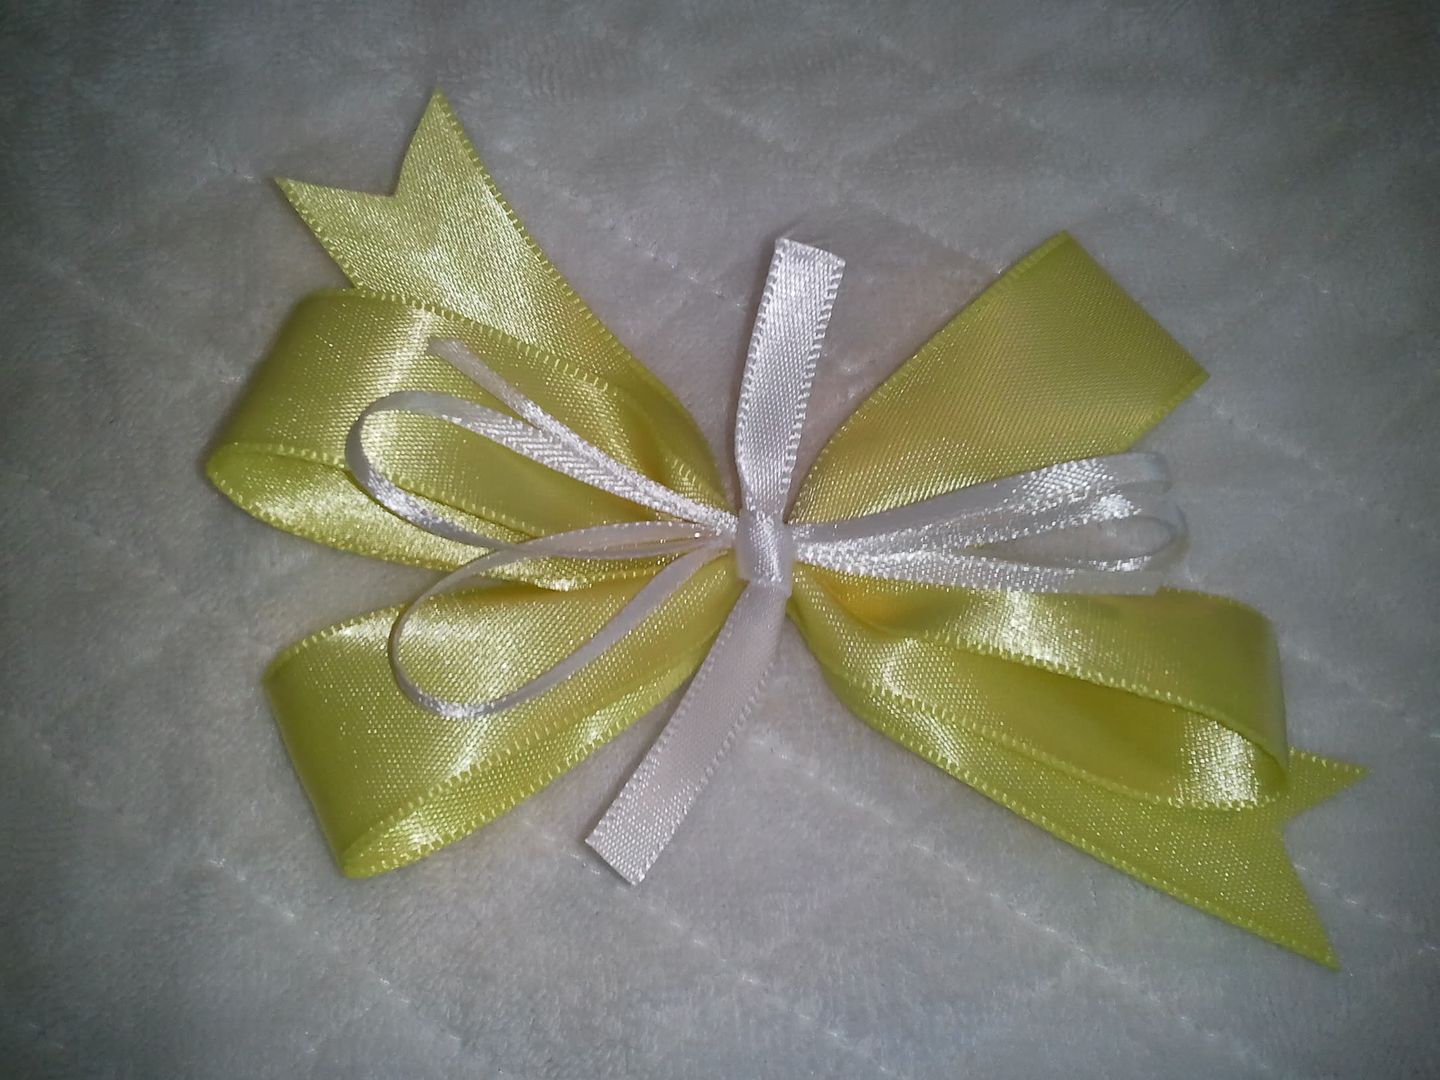
Now for the tricky part... pinch your ribbon in the middle and "fluff" out the bow so that there are 4 distinct loops (should look like butterfly wings). This may take a bit since it's hard to hold the center and work with the ribbon at the same time, but keep at it until you have it looking the way you want.
Now, that we have the bow the way we want, we need to secure it in the middle. This is much easier if you have a third hand (ie: someone to help tie off the middle for you)... but if nobody is around to volunteer, then my favorite way of securing the middle is by taking a length of thread and wrapping it around and around until it's tight then tying off the 2 ends of the thread to keep it secured.
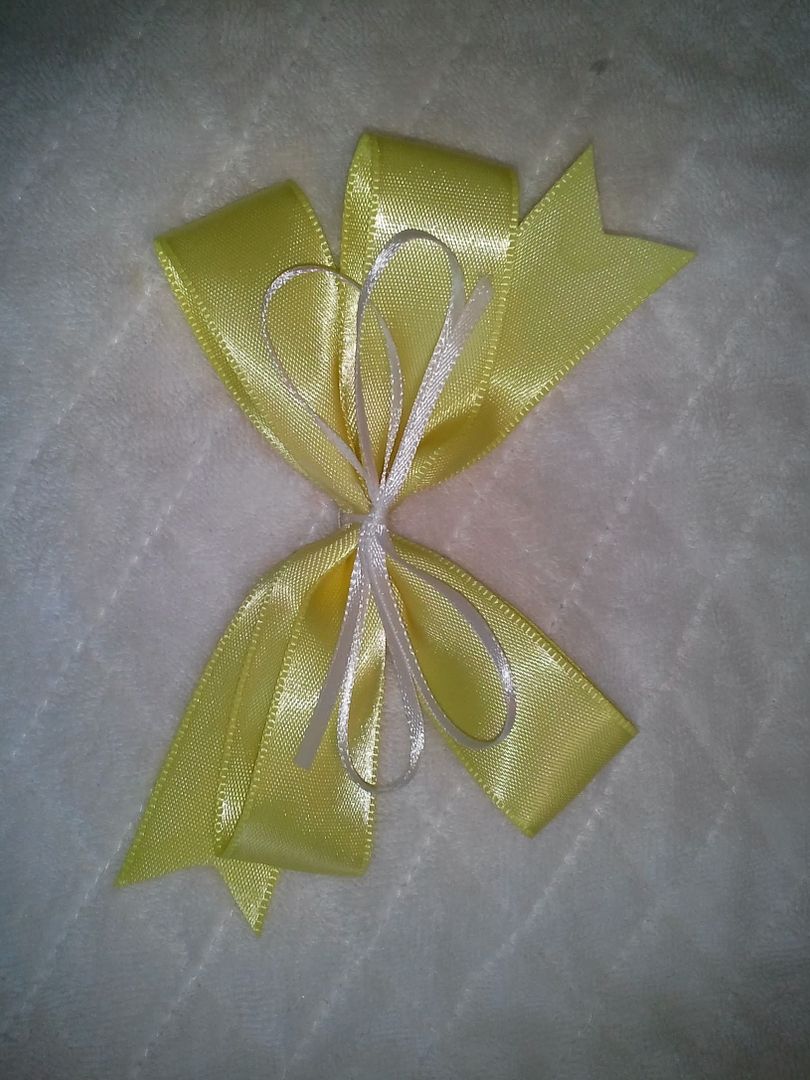
Voila! Alrighty, now let's cut the ends and fray check them. You can cut the ends straight, on an angle, or you can do a "V" shape... whichever you feel suits the style of your bow. In this case, I chose a "V"...

Now, for some extra flair, I decided to add a little bit of white to the mix. I followed the exact same steps above only with my little 1/8" white ribbon (I liked the look of it next to my 5/8" yellow ribbon). I then attached it to my yellow ribbon by tying them together with thread.
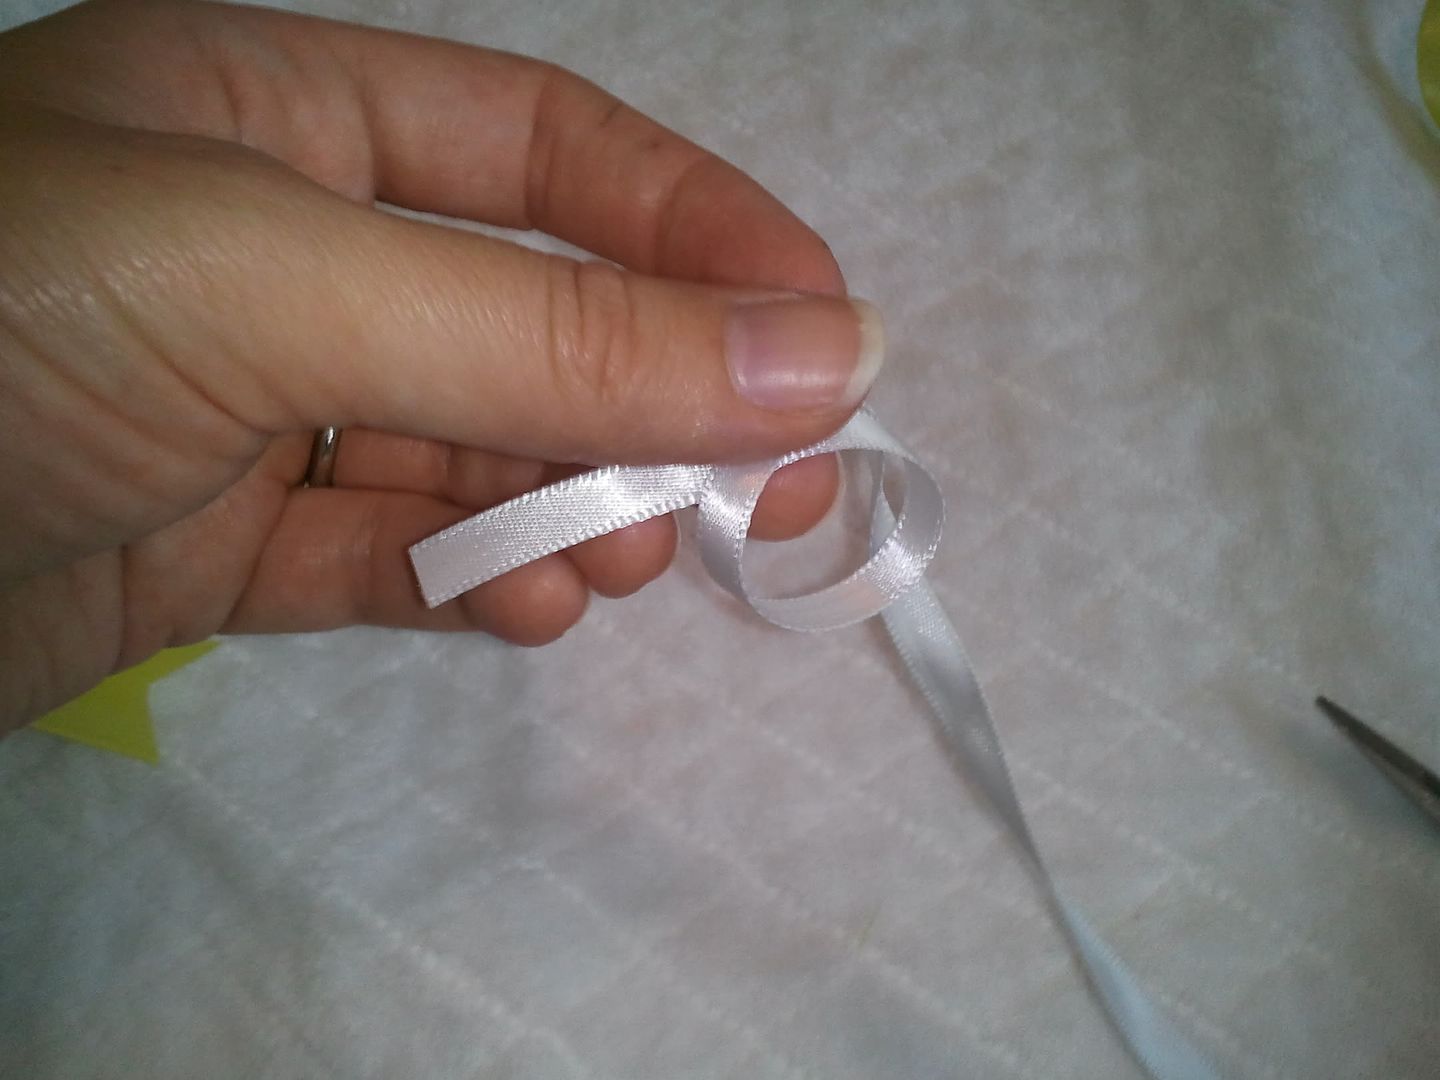
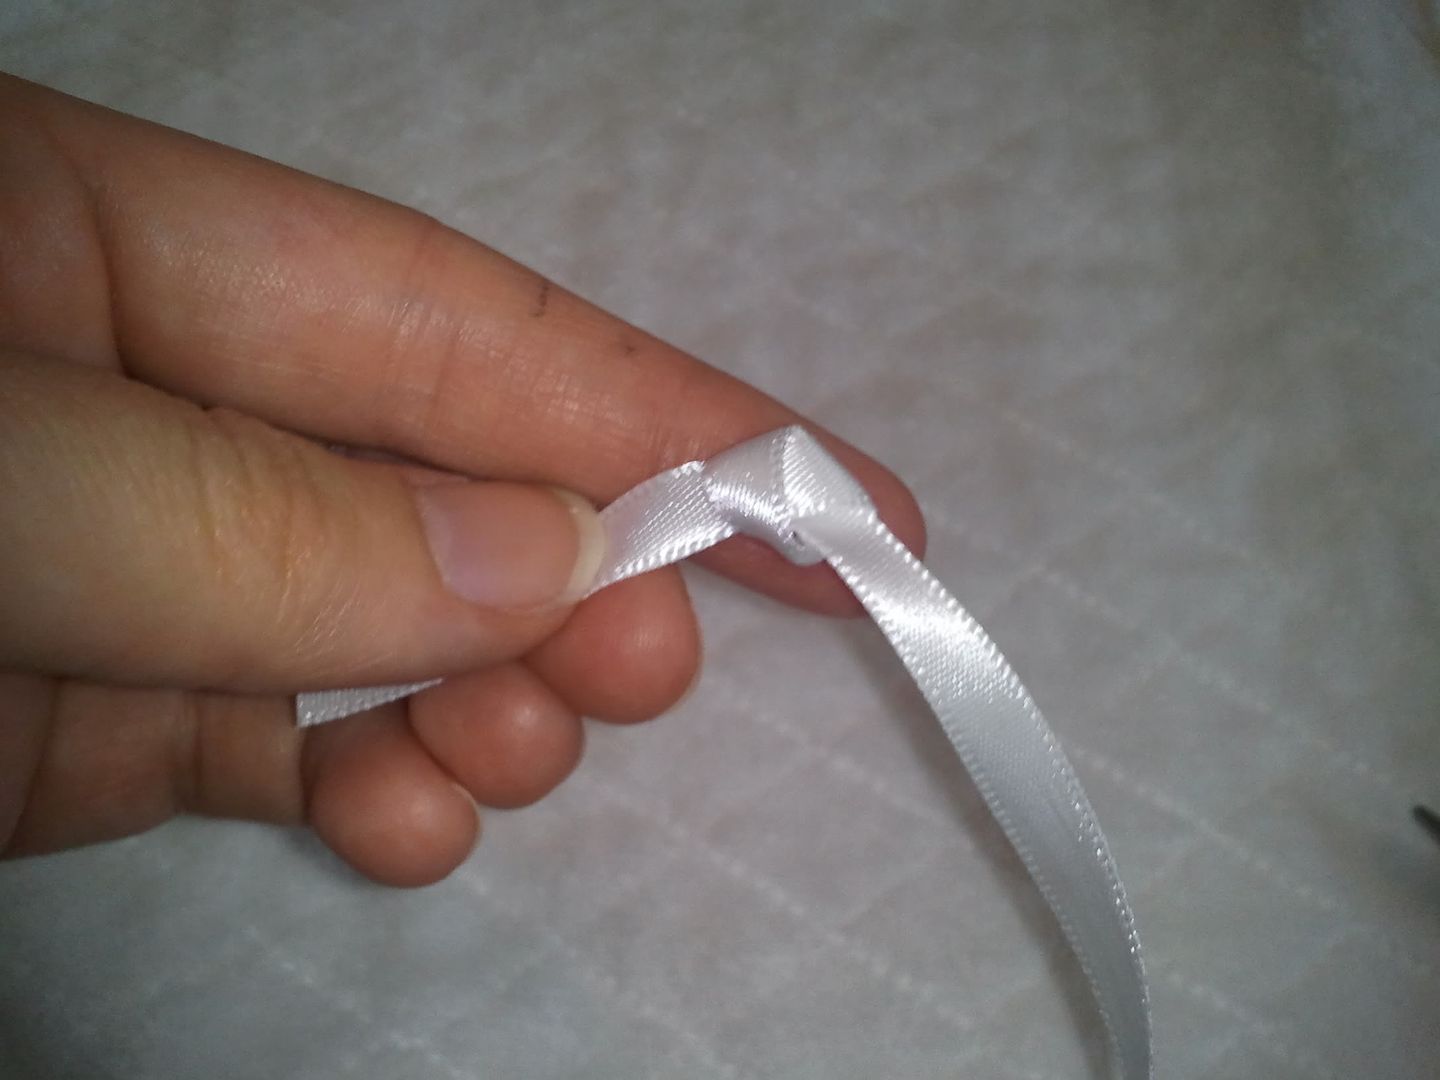
Now to make a center. You can make this in any color you like, just use a smaller size ribbon (in this case 1/4"). Tie a simple knot in the ribbon like so:
Now, I take a dab of fabric glue, place it on the knot and put the knot in the center of the "good" side of my bow.
Allow the glue to dry before working with it further. Once dry, flip your bow over and wrap the center ribbon around the back and glue in the center back. Cut off the excess as you are doing this.

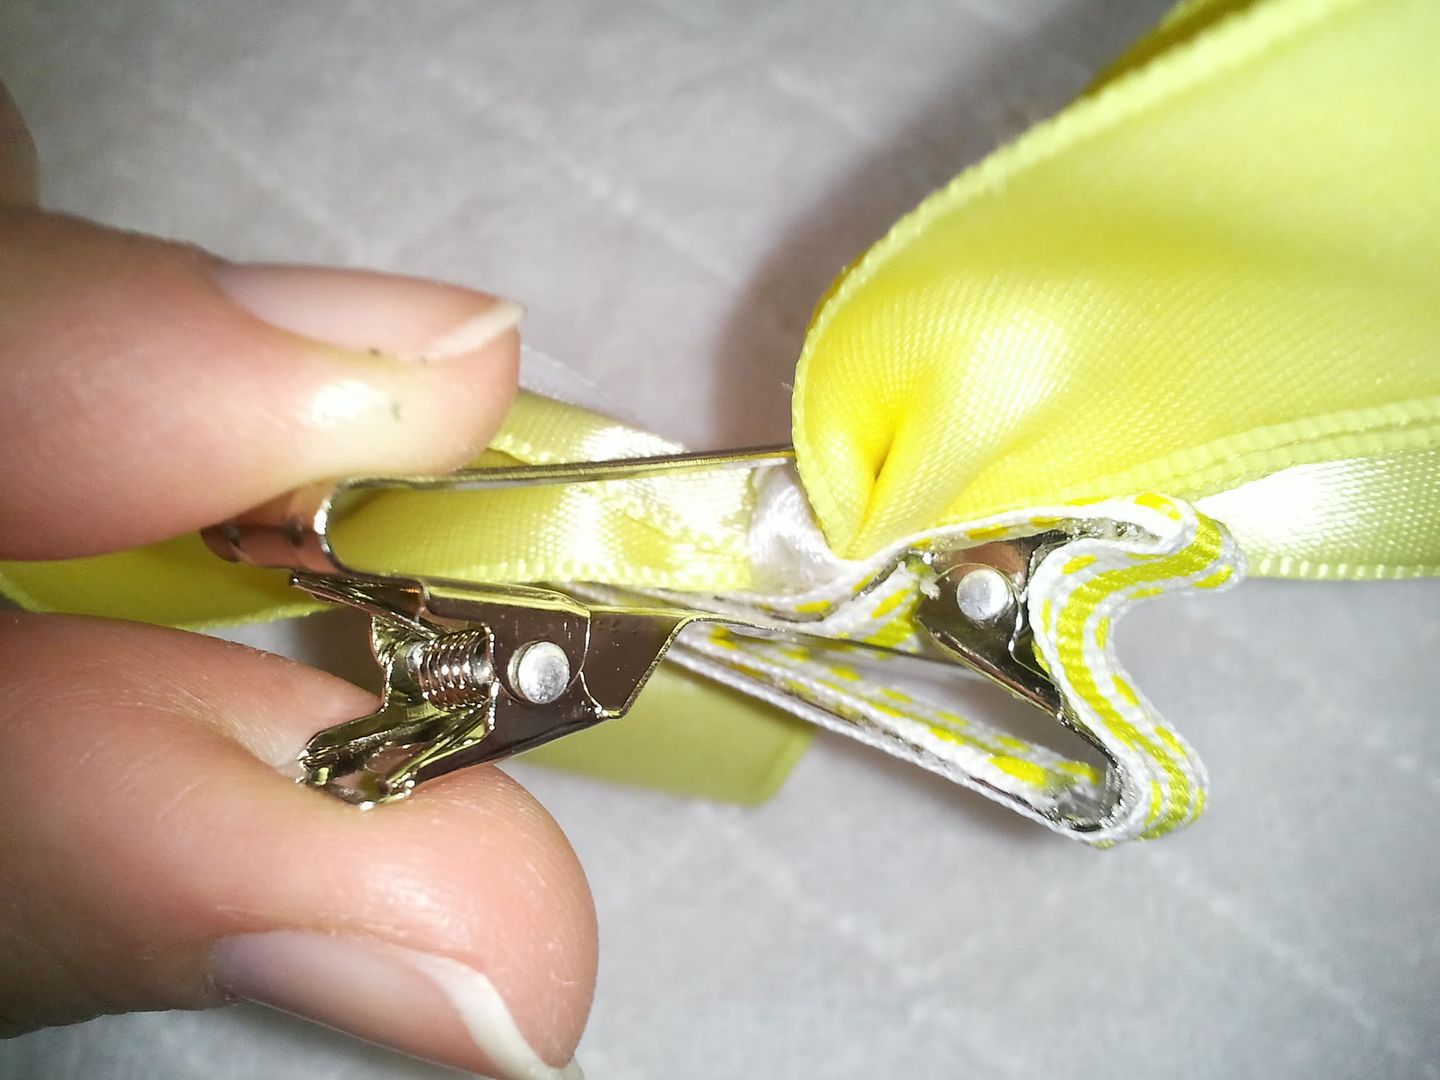
Once the glue has dried on the back, you can now connect the bow to you clip. I prefer to use alligator clips that I like myself (with 3/8" ribbon). I will show you how to line an alligator clip in a later tutorial... it's super easy, I promise! Place a dab of glue on the back center of your ribbon and connect your ribbon in the top groove of your alligator clip. I usually use another alligator clip to secure it while it is drying.
Once it's dry, it is ready to wear! You may need to "fluff" it on occasion by placing your fingers in the loops to make them poof out, but it should last you until it's lost or destroyed by the little monsters for whom they are made. :-)
No comments:
Post a Comment