
So, we’ve officially done all of the major things that needed to be sewed by creating the VELCRO POCKET, BUTTON POCKET, SHOETIE LACES, and ZIPPER POCKET, but I have to say that I felt I wasn’t ready to just stop there. I wanted to make this extra special and fun so that it would be something that my daughter wants to play with.

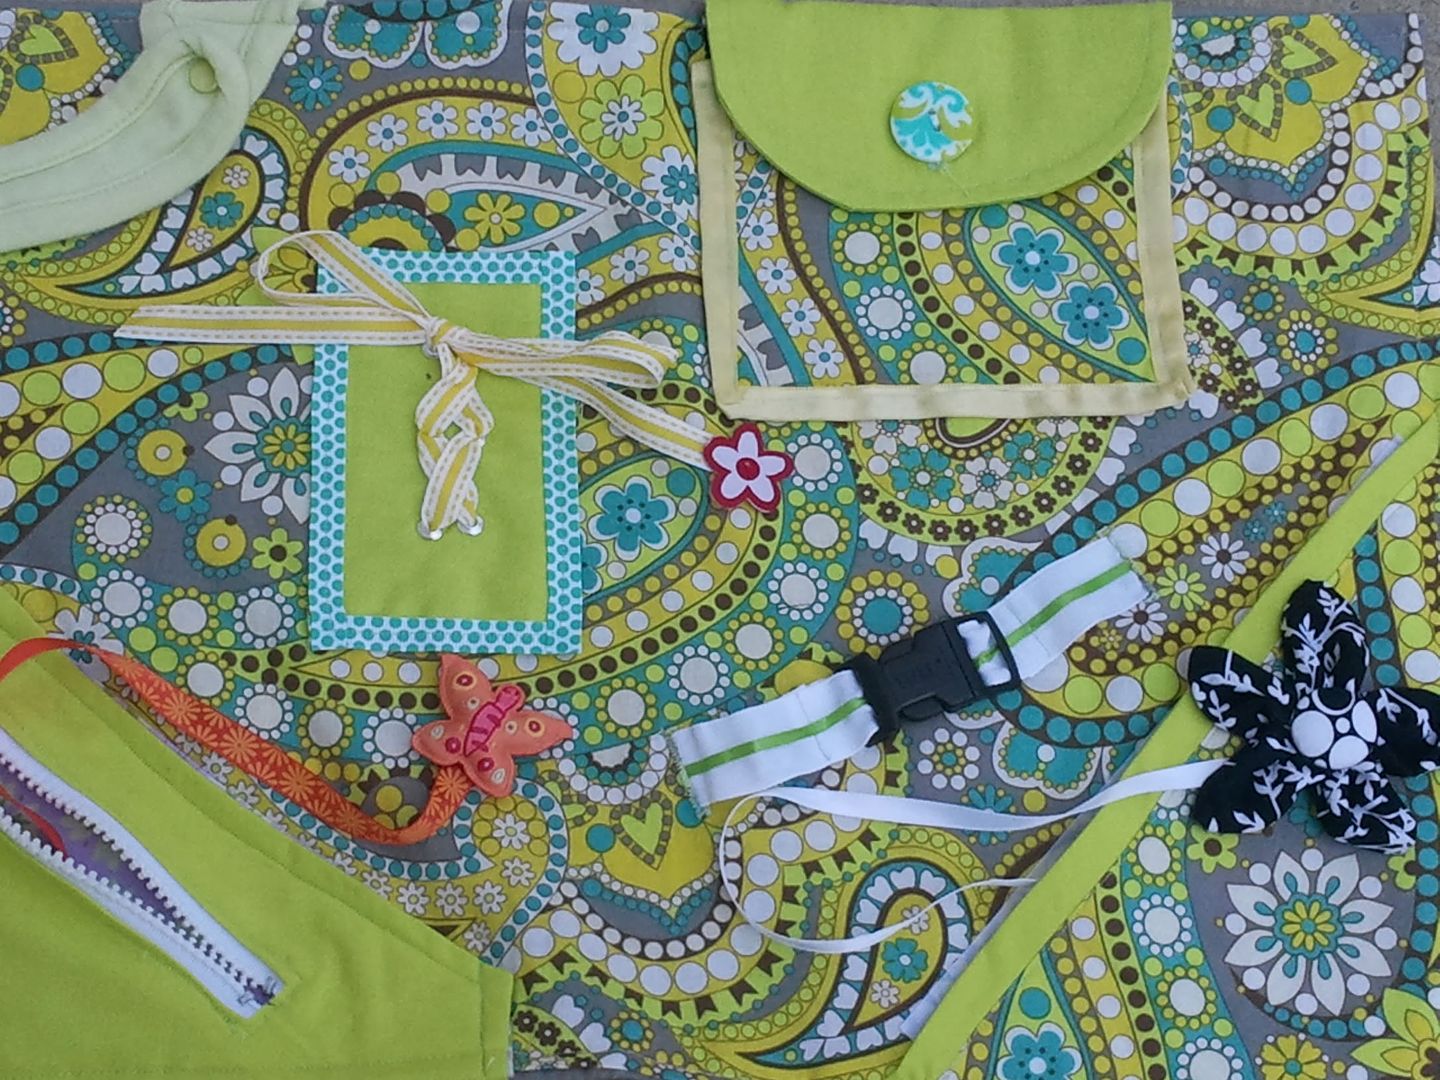
Lately, my daughter has had a fascination with the plastic connector in her car seat. No, I don’t want to teach her how to get out of her car seat just yet, but I know she loves to play with the connector, so I figure that the plastic side-squeeze clips were close enough, but not quite the same as the one used on her car seat. You can find these at most craft stores, but I just pulled out one of my dog’s frayed old collars and cut the clip away from it (making sure to wash the clip very well with dish soap). I then connected the clip and threaded through some grosgrain ribbon on each side, topstitching it in place. Next, figure out how far apart you want your ribbons to be when you attach them to the inner placemat (allow enough room for some play with the clips). We will be attaching these to the placemat by creating two button holes big enough to fit the ribbon in on each side. Allow for about an inch of ribbon to be inserted into the button holes on each side. Now, I just size my button foot to the width of my ribbon, marked on the placemat the location of where they should go, and created two button holes. Cut the button holes open and Fray Check the edges. Insert the ends of your ribbon into the button holes and topstitch it down by stitching along the button hole thread. Do the same for both sides.
I also decided to add a snap closure to the upper left corner of my playmat. I had an old preemie-sized bib from when my daughter was born (way before she really needed a bib).
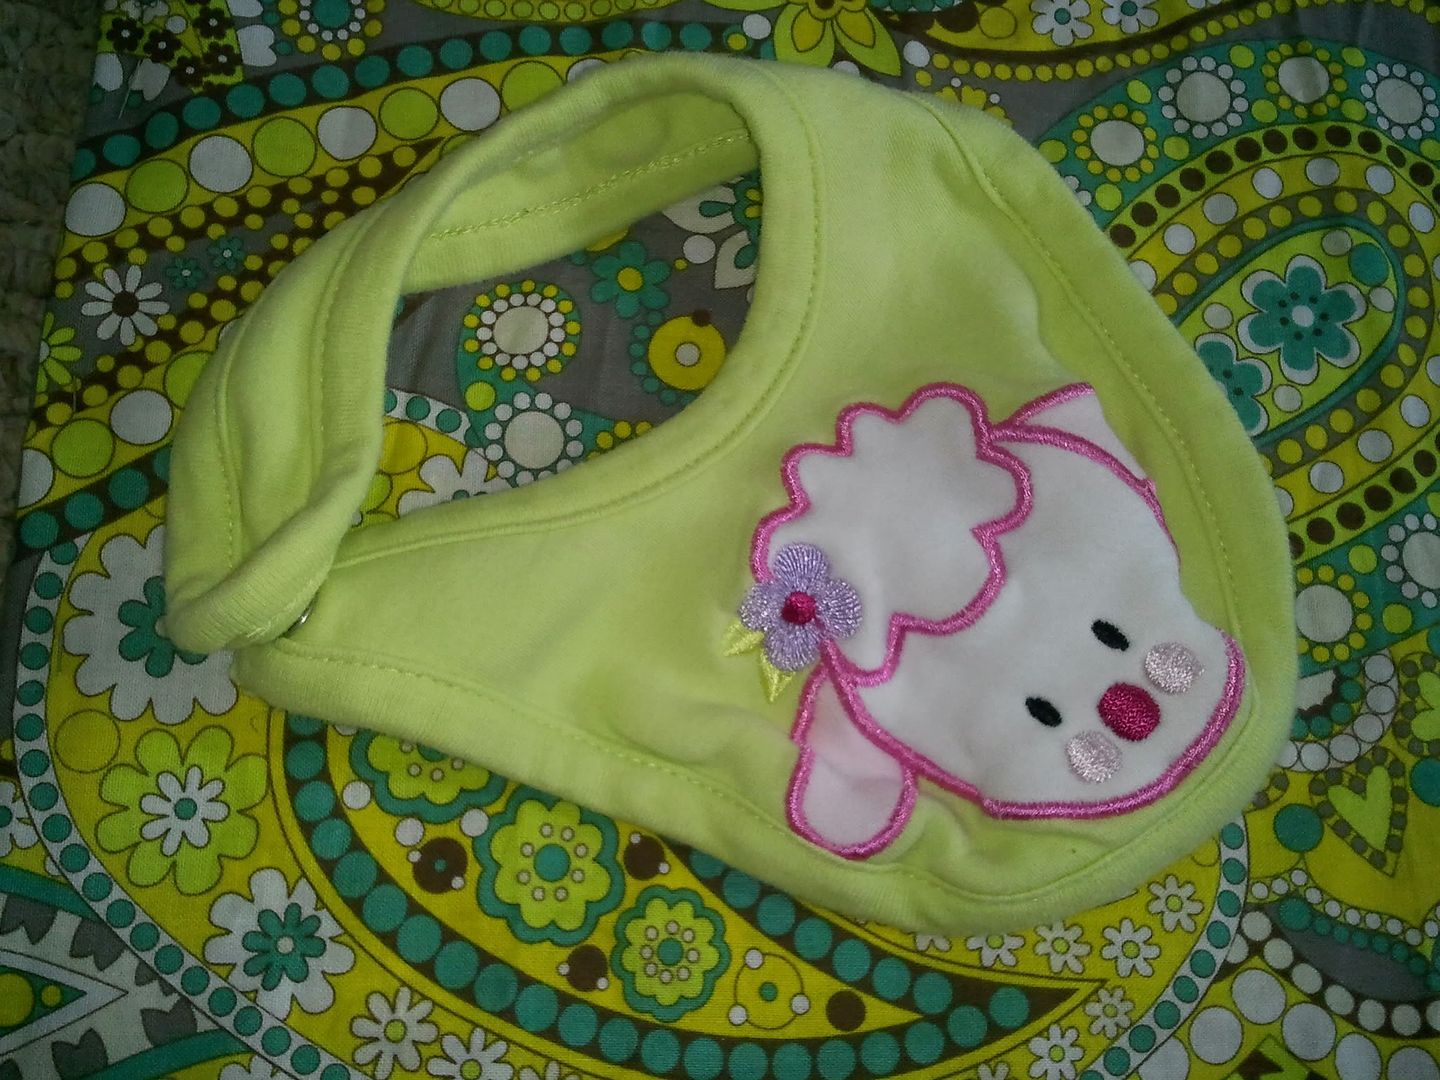
I had no intention of using it again, and it had a snap closure on the back, so I cut the two back bib flaps off and sewed them onto the playmat (SUPER easy).

I wanted to make the pockets I had created a bit more interesting for my daughter if she happens to get one open. I figure that since I have 3 pockets, I would leave one alone and create a bit more interest for the other two. I decided to work with the Zipper pocket and the Velcro pocket for this. For the zipper pocket, I found an old appliqué from one of her old outfits (a little stuffed butterfly about as big as a quarter). I cut the little butterfly off and attached it to some matching ribbon. I then laced the ribbon through the zipper pocket and folded the end under the edge of the inner placemat (so that it will be sewed down once I attach the outer placemat by topstitching around the entire thing). I did something similar on my Velcro pocket, only I actually created a little flower from fabric.
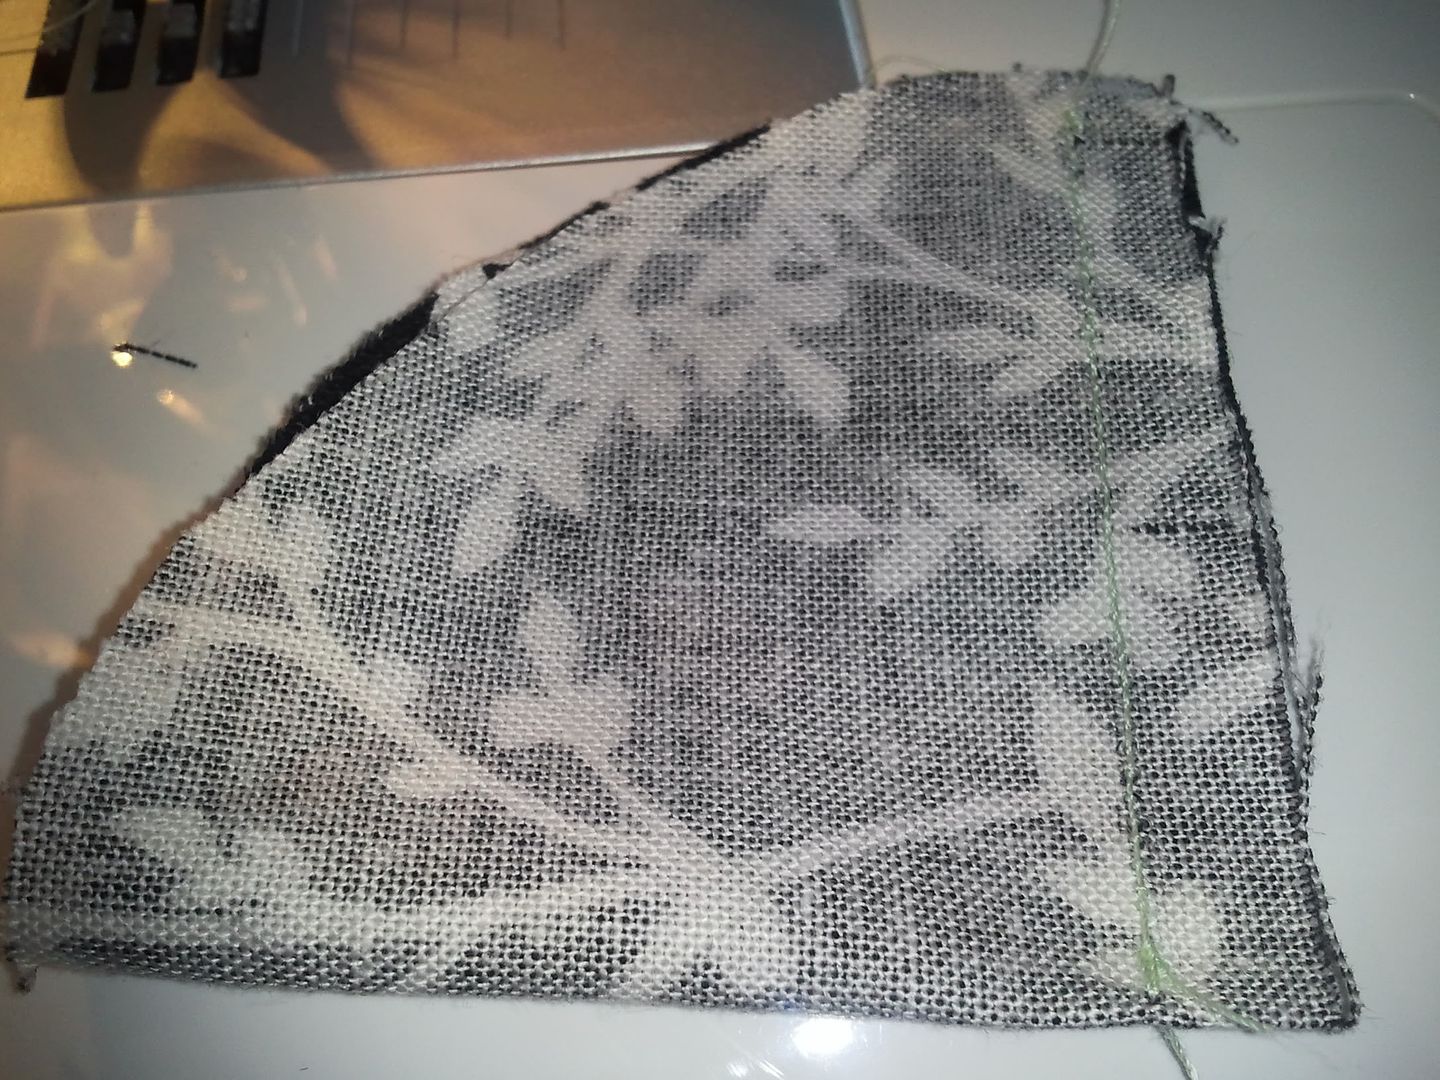
To do so, simply cut out large circles of fabric, then cut those circles in half. Each half will become one petal, so make however many you want. Then, just take your half circle, fold it in half with right sides together, and sew along the straight edge.
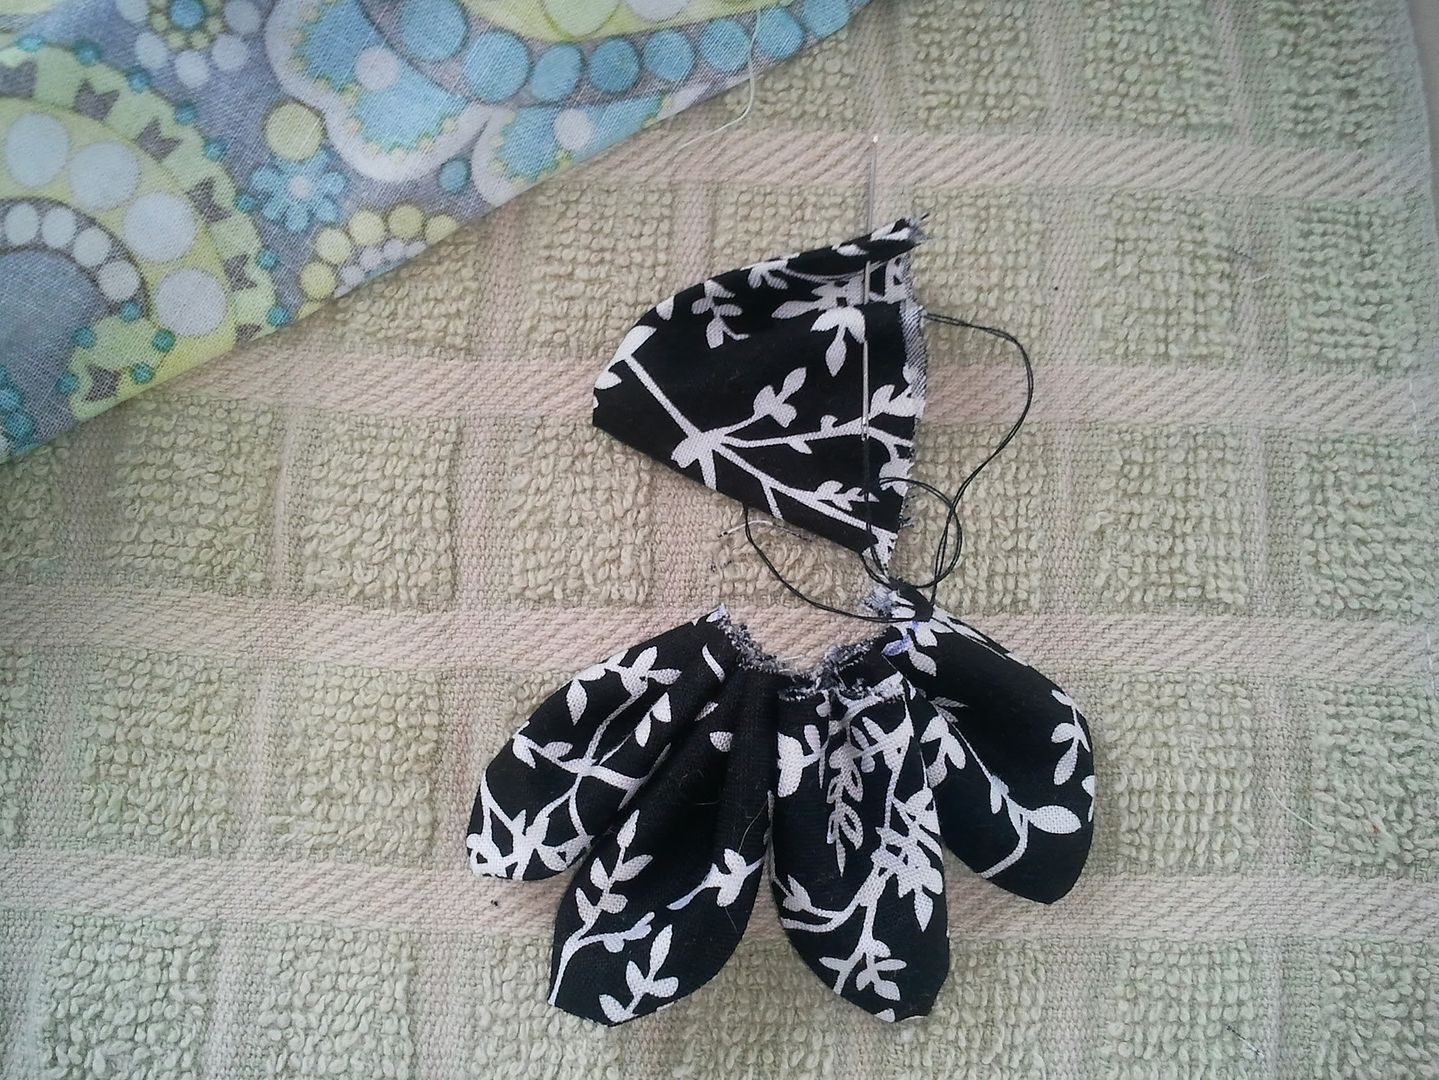
Turn the petal back right-sides-out and repeat with next petal. When you have all your petals, hand run a gathering stitch through them around the un-sewn edge, pull tight, and tie off.
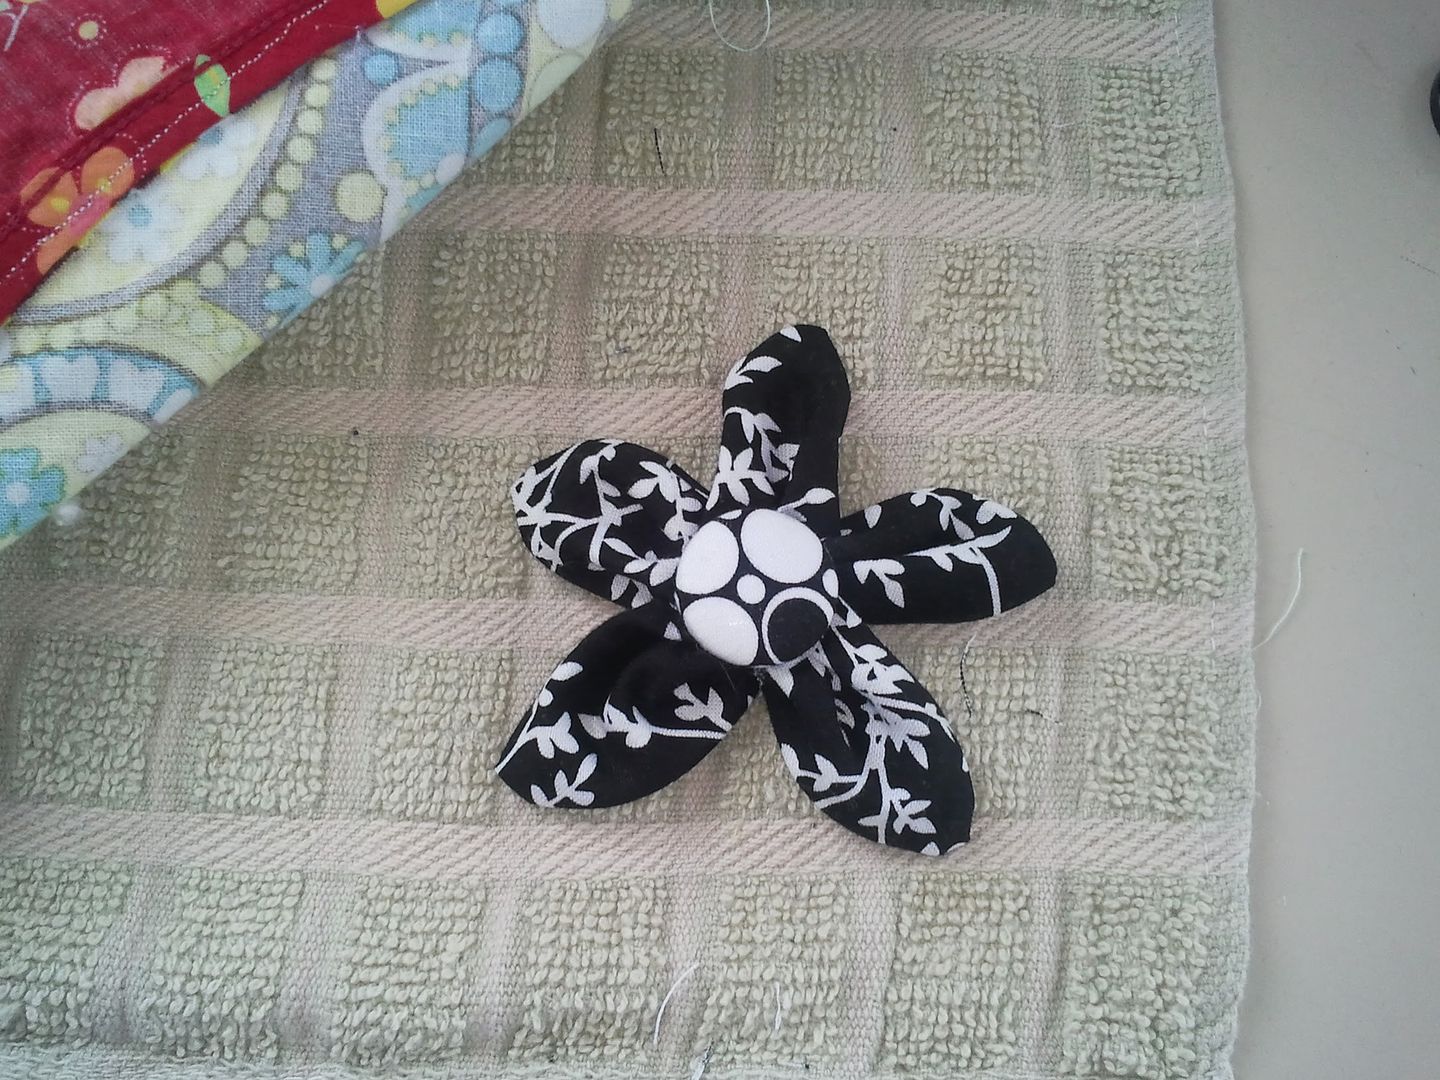
Then, just use a fabric button to cover the middle (either sew or glue the button on) on both sides so that when your child pulls the flower out of the pocket, there is no bad side.
You can jazz your up however you would like... again, this is just a tutorial, so please, make it yours!
Once you have everything done that you want on your playmat, finalize the entire thing by sewing a button on the outer placemat to ultimately hold it closed. Then, on the other end of your outer placemat from where you sewed your button, pin some elastic (I used a hair tie) in between your inner placemat to the outer placemat at the edge. Now just top stitch around the entire placemat. It should all stay in place and you should be able to close your playmat by folding it in half and wrapping the elastic around the button.

If you have any questions or need clarification, feel free to send me an e-mail! I would love to hear from you if you are attempting a playmat of your own.
No comments:
Post a Comment